In my last update, I showed the fuel system on the RX-7. In this post I’m going to go over nearly everything I have done to get to the point of starting the engine. It’s going to be a big update and I guarantee it’s been worth the wait!
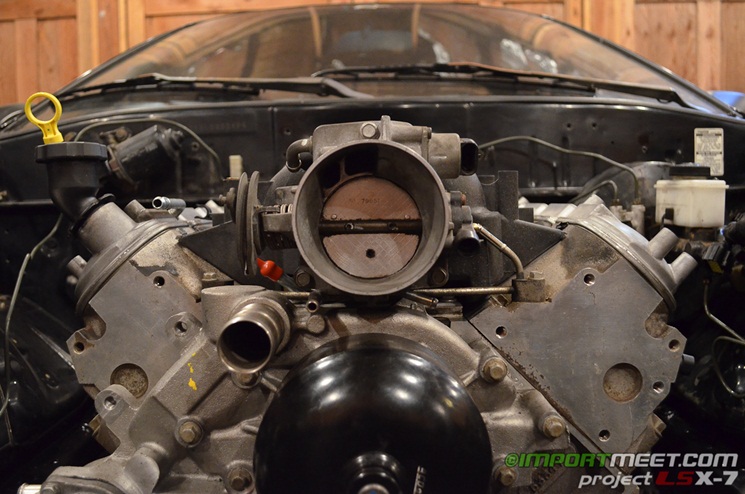
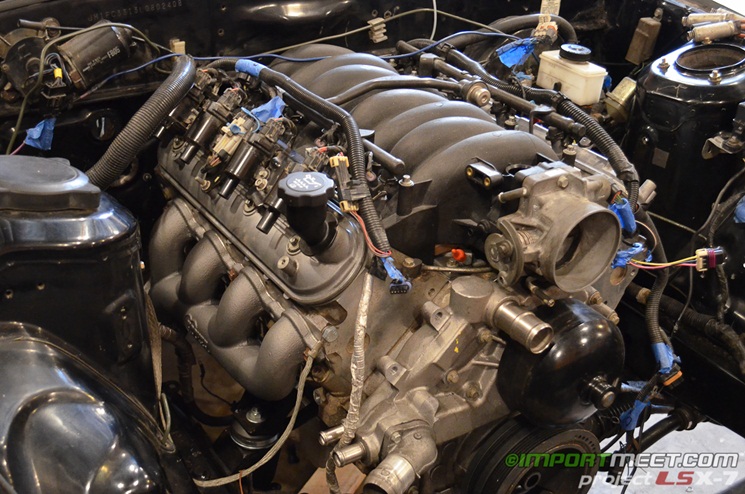
With the engine sitting in the engine bay supported by the front mounts and a wooden block, Matt from Secondbolt Racing and I decided it was a good idea to start the engine to make sure there wasn’t anything catastrophically wrong with it. Even though it had been inspected and everything looked fine, it wasn’t a bad idea to make sure it turned over and built oil pressure.
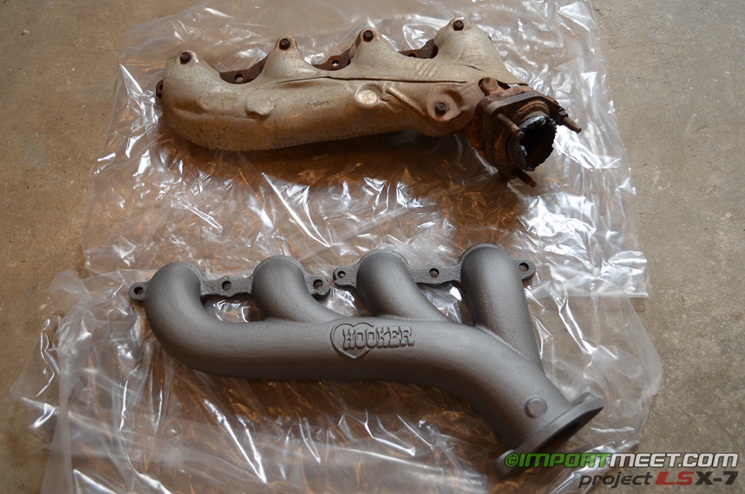
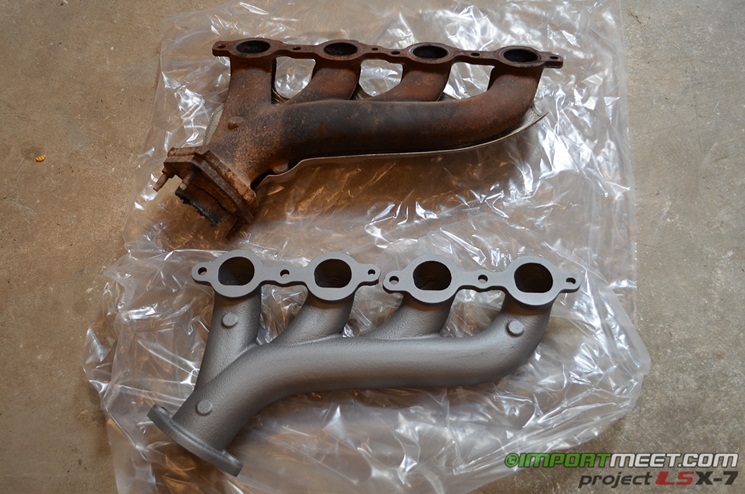
One of the first things I decided I needed was a set of exhaust manifolds. The stock truck manifolds wouldn’t fit (even for the first start) so I began to look for some aftermarket ones. I initially wanted to use long tube headers, but after seeing how much firewall modification was required, I decided against it. I found a set of Hooker manifolds that were recently released that would fit without any modifications to the firewall.
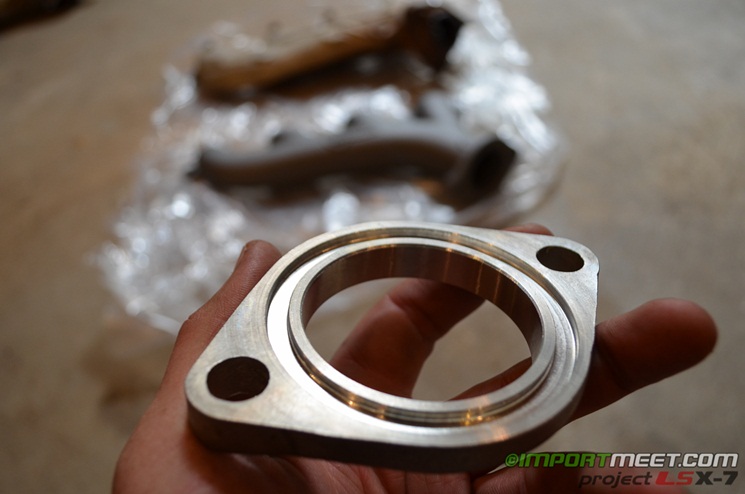
Hooker claims that these manifolds flow well up to 500 horsepower on LS engines. By using these “block huggers” (as some people call them) a prototype exhaust system can be developed since the outlets will be consistent on every FC RX-7. Hooker even provides stainless steel flanges that can be used to start an exhaust system.
I ended up deciding on the gray ceramic coated cast iron manifolds (part number 8501-5HKR). I called up Passing Lane Performance since most websites had them on backorder. They were able to track a set down for me and they even brought them to an ImportMeet.com event. The ceramic coating should help keep engine bay temperatures down.
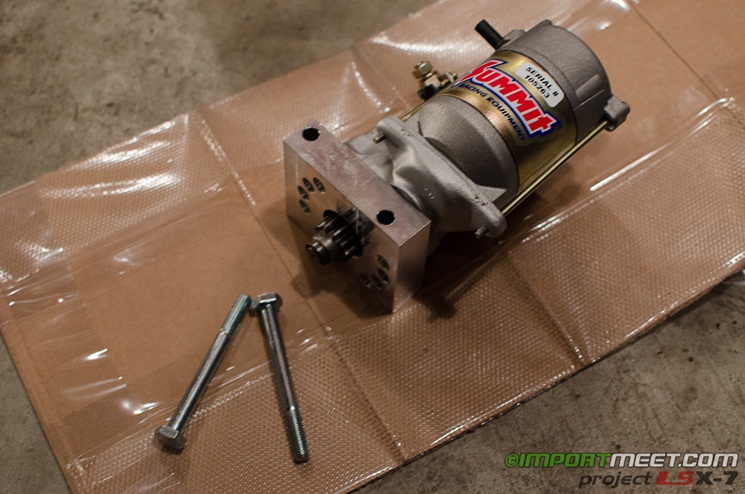
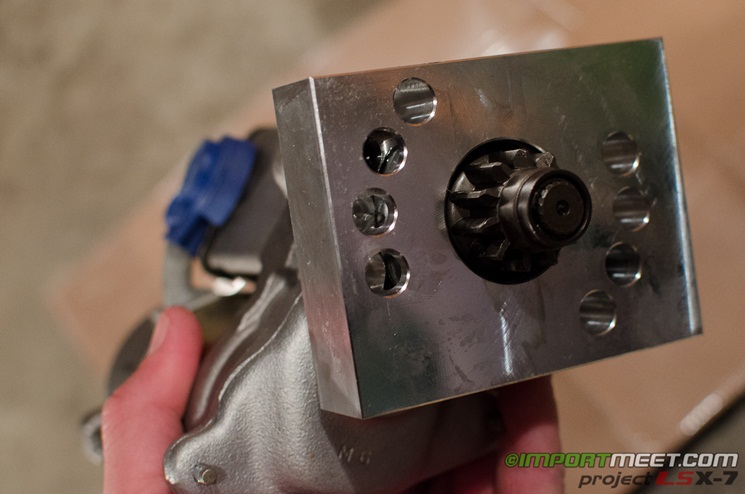
A starter was sourced from Summit Racing. I ended up going with a Summit Racing Protorque Starter (part number SUM-820320). Since this starter doesn’t have a shroud, it allows for the use of various types of T56 bell housings (GTO, F-body, etc.).
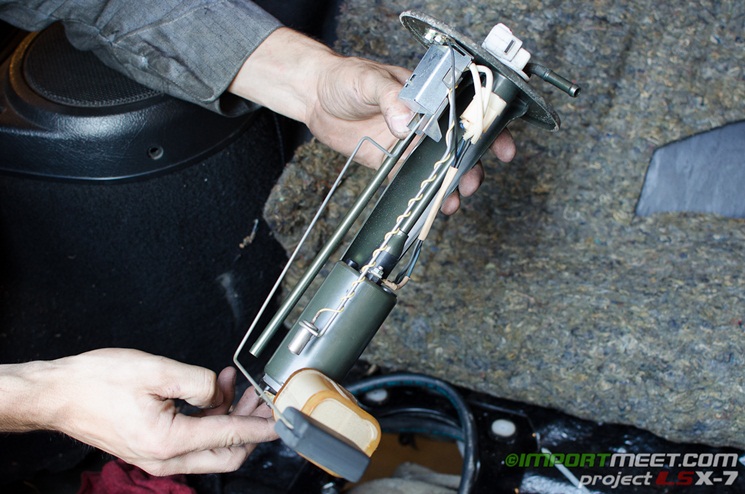
We also decided to install a higher flow fuel pump to make sure we didn’t have any fuel pressure issues. Fortunately, Secondbolt Racing had parts car with an LS swap with a Denso MKIV Supra fuel pump. Many people use this pump on 500 horsepower builds so it should be sufficient for at least the stage 1 power upgrades that will happen in the future.
Since the engine was only going to be started for a few seconds to verify oil pressure, the cooling system wasn’t installed yet. I installed a mechanical oil pressure gauge into the oil pressure sender port to verify that it had proper oil pressure.
Once everything was ready, we turned over the engine. It roared to life! The mechanical oil pressure gauge showed normal oil pressure which we were happy to see. Unfortunately, the initial start up video was out of focus and didn’t turn out. You will have to wait until the next post which goes over the transmission, cooling system, and driveshaft installation to hear the engine running with open headers. The unveiling is scheduled for September 22, 2012 at the End of Summer Car Show / V-LEDS Grand Opening so I need to bring everyone up to speed on everything that has happened in the last few months.
Previous posts about Project V8 RX-7:
Update 12 – Stage 1 Fuel System
Update 11 – Rear Subframe Modification and Bushing Install
Update 10 – S4 Turbo II Parts Car
Update 9 – L33 Modifications and Preliminary Install
Update 8 – Ronin Speedworks LSX Mount Kit
Update 7 – Improved Racing Oil Pan Baffle Install
Update 6 – Parts Engine Teardown
Update 5 – 5.3L Engine Purchase
Update 4 – The New Shop
Update 3 – Drivetrain Choices
Update 2 – Interior and Wiring
Update 1 – Engine Bay Preparation
Introduction to the Project

