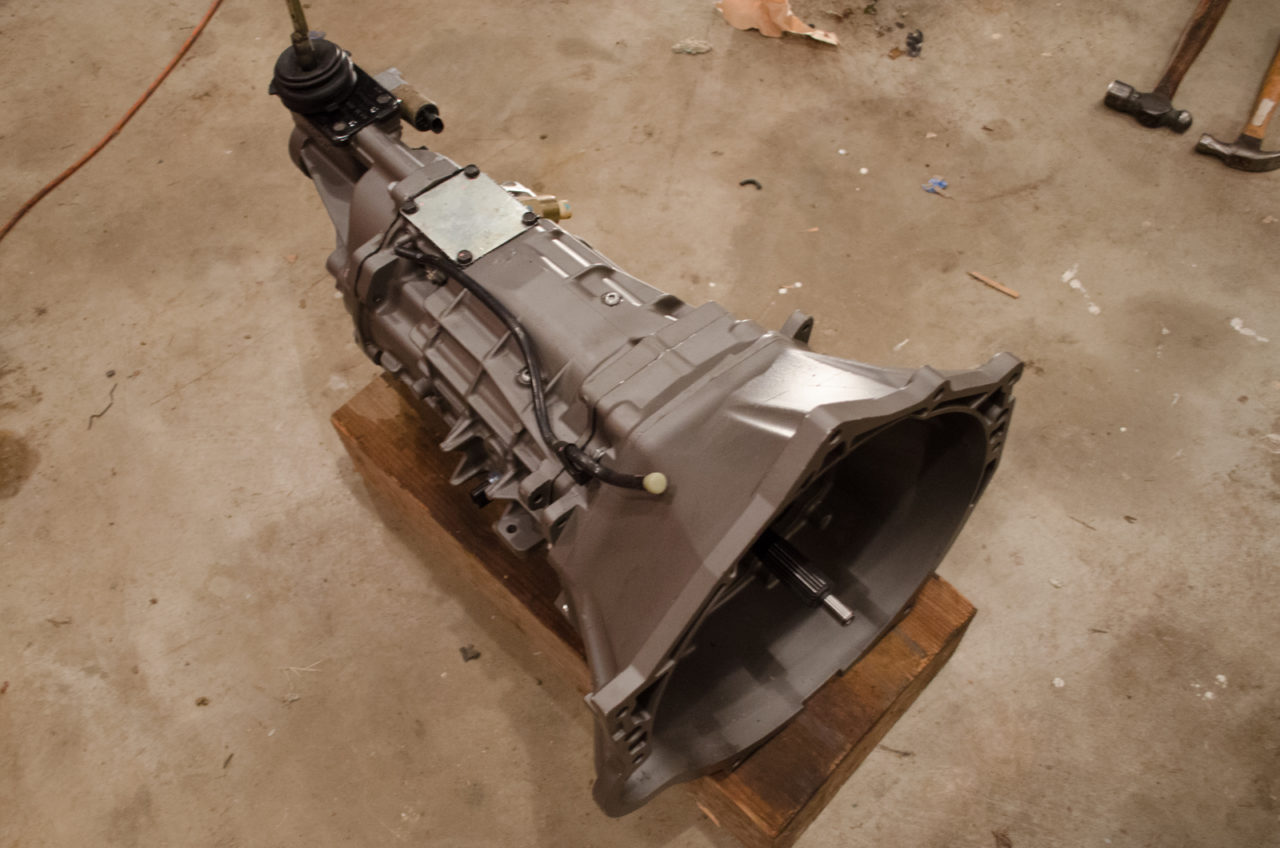
The most difficult part to source for the swap up until this point has been the T56 transmission. T56 transmissions are typically found in LS1-powered Camaros and Firebirds (along with many other sports cars). They are a 6-speed manual transmission capable of handling over 450 lb-ft of torque in stock trim. Since so many cars are being swapped with LSX engines nowadays (including hot rods and other classic cars) they tend to be extremely sought after. Local sellers know the scarcity of them and try and charge a premium for high mileage used transmissions.
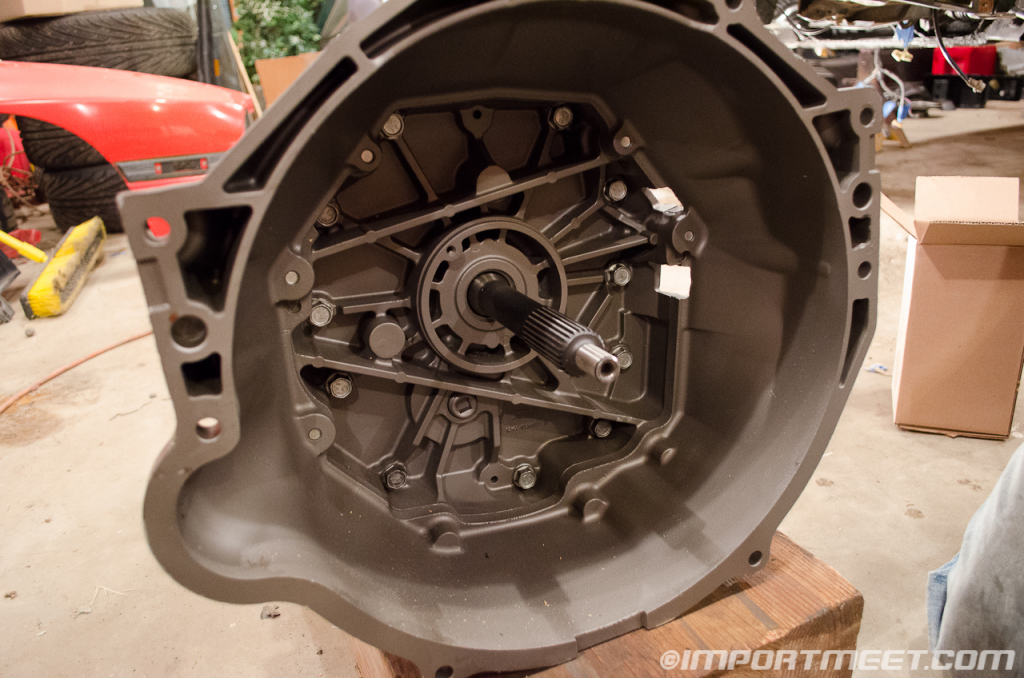 After scouring Craigslist and LS1Tech for months, I eventually gave up and started to look on eBay. Most listings were overpriced or were complete pullouts and the sellers weren’t willing to separate them. One day, I was searching and found a freshly rebuilt transmission for a great price. Never having bought something so expensive on eBay I was skeptical but after talking to the seller on the phone I started to feel more confident it was the right decision. The seller told me that he rebuilds transmissions/transfer cases as a side business and has been rebuilding them for 15 years. He had a great seller rating on eBay so I ended up pulling the trigger.
I placed a bid and purchased the rebuilt transmission for about $500 more than used ones were going for locally. It arrived in less than a week packaged nicely and freshly painted. I was ecstatic to have a rebuilt T56 in my possession! Along with it being freshly rebuilt, it also had the upgraded steel 3-4 shift fork and upgraded synchronizers. These parts are notorious for being the weak links in a stock T56 so it was nice to have these already upgraded.
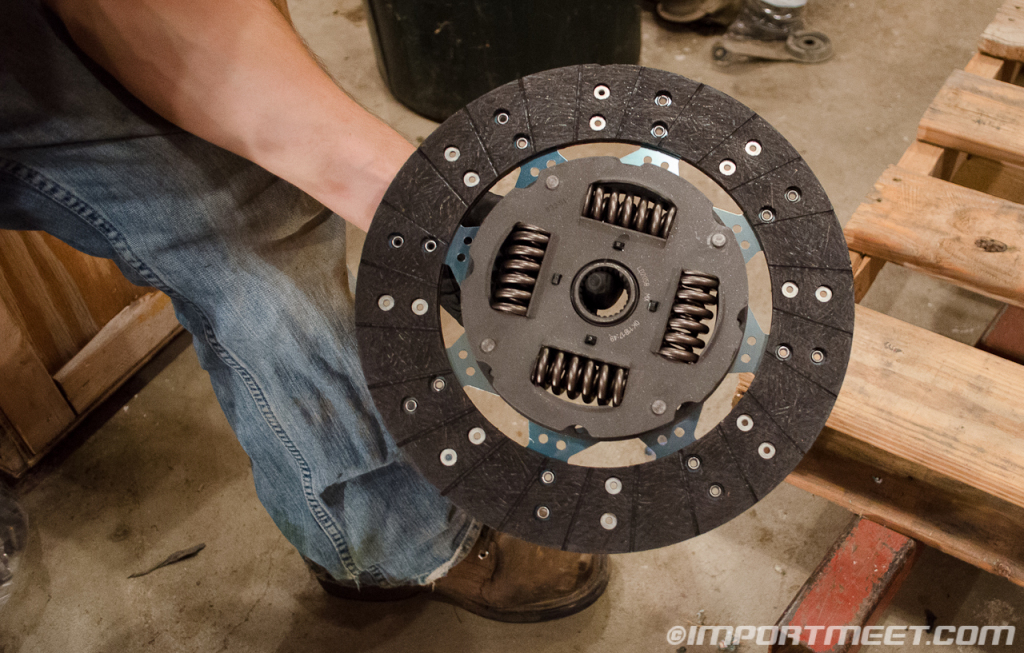
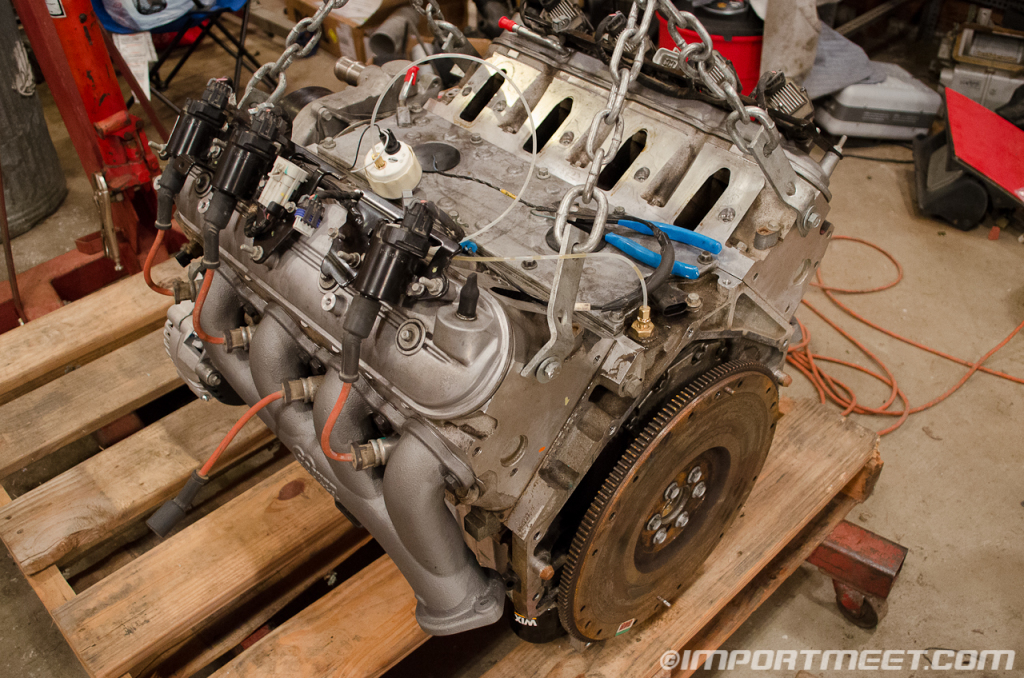 Instead of trying to install the transmission in the car, we decided it would be better to install it to the engine and drop them in together. The L33 was pulled out of the engine bay for what we hoped was the last time. The stock LS1 flywheel was already installed so a brand new OE LUK clutch disc and a used pressure plate were installed. This was an area I chose to save money and went with used components. I plan on upgrading the clutch when I do a head/cam swap.
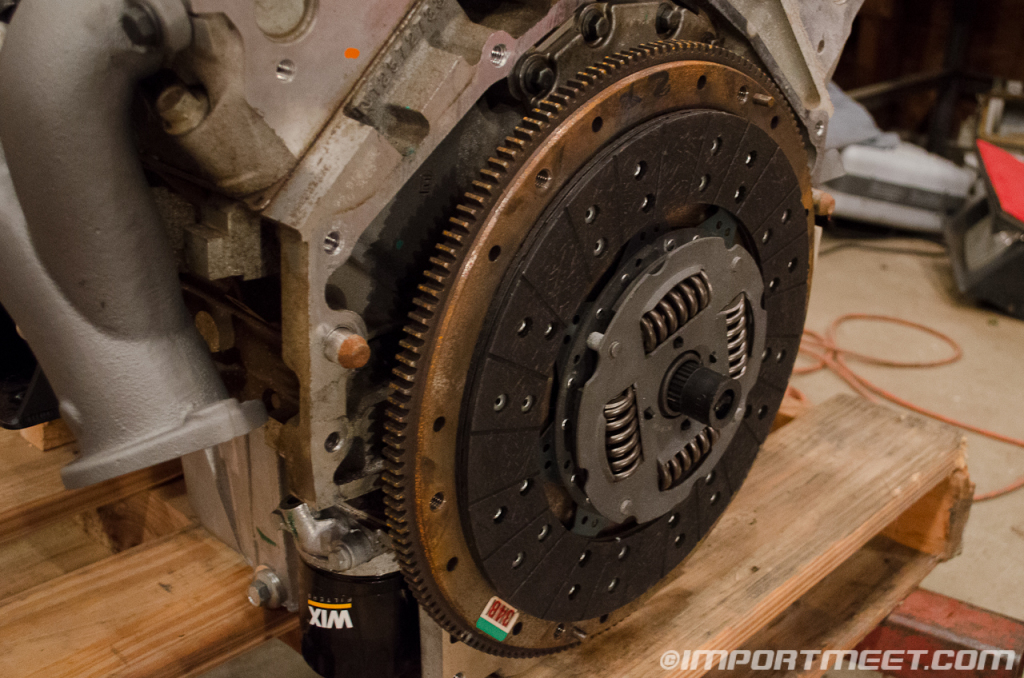
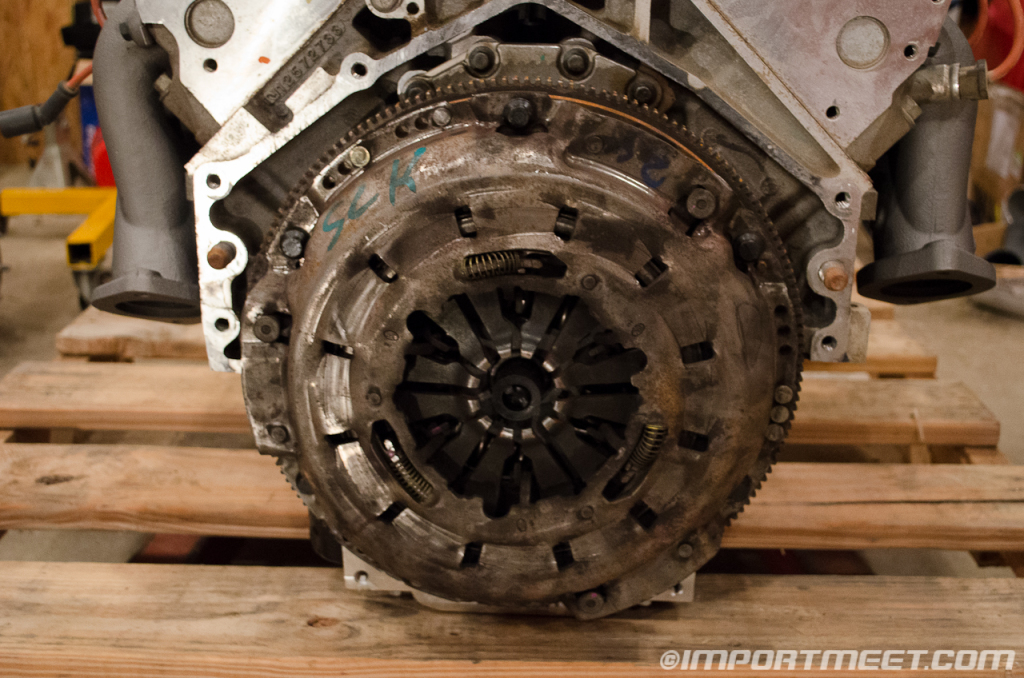 Prior to attaching the transmission, we installed a brand new Chevrolet Performance slave cylinder that I purchased from Summit Racing (NAL-24264182).
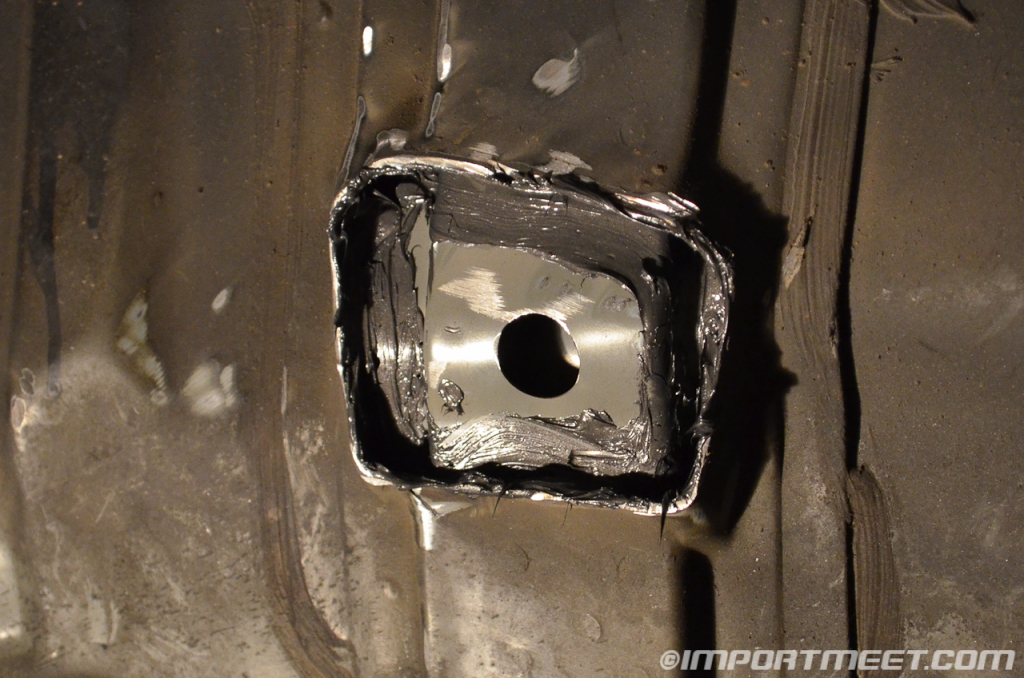
Before the engine and transmission could be put back into the car, the humps that the original RX-7 transmission mounted to had to be removed. While it is possible to cut the spot welds and take them off as one piece, it’s far easier to cut them close to the chassis and fill the gaps with sealant. In the future, the spot welds can still be drilled out if needed.
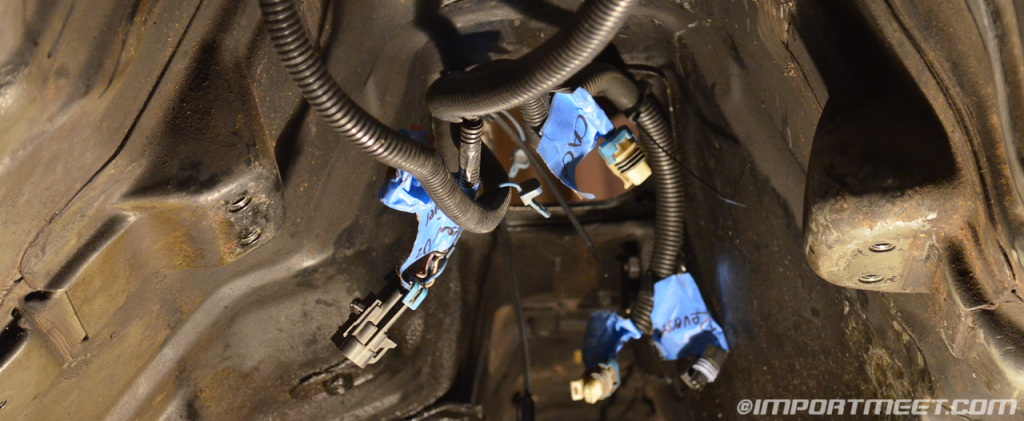
 Something that I didn’t show off in the engine mount article was the Ronin Speedworks transmission mount. The nicest feature of the transmission mount is that allows for excellent exhaust routing.
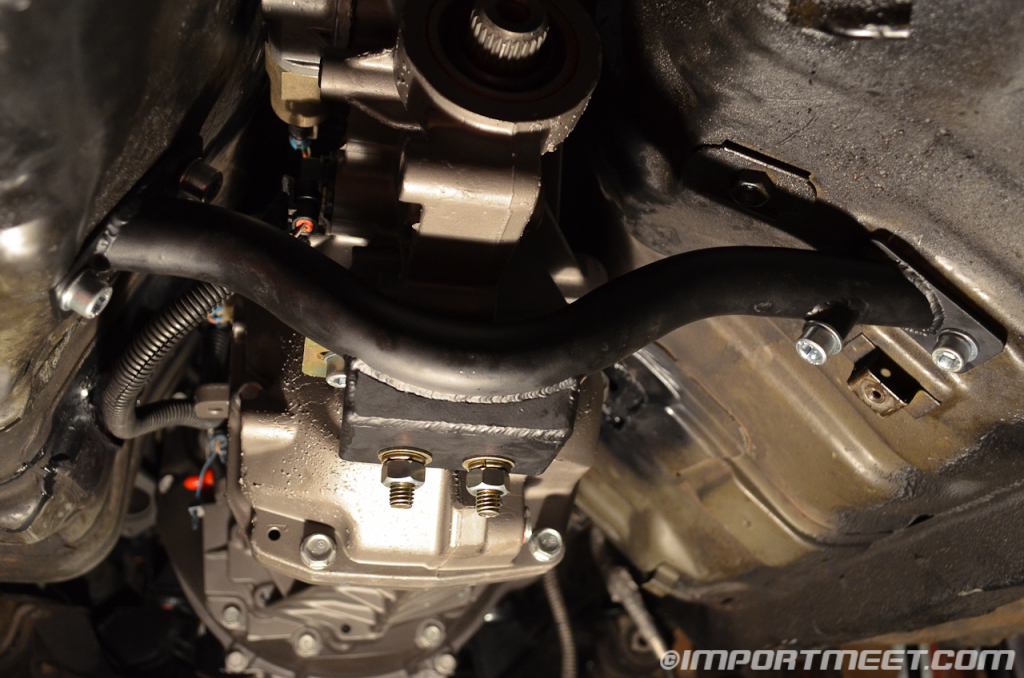 The assembly was placed back on the front engine mounts and the transmission mount was mounted to the back of the transmission. It was then raised until both sides contacted the tunnel and 4 holes were drilled through the chassis. Once the holes had been drilled, the carpet had to be pulled back inside and the sound deadening was chipped away near the holes. This was done to make room for the included plates with welded nuts that act as the backing plate attaching the transmission to the tunnel.
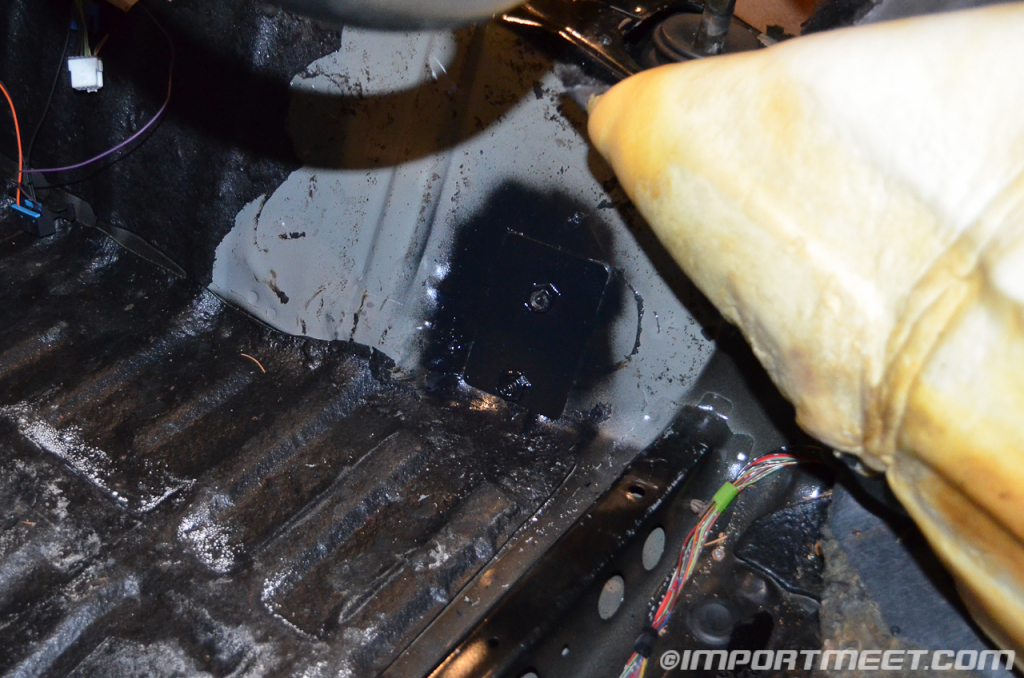 The bolts were torqued to the specification provided by Ronin Speedworks. The final step in the powertrain was to install the driveshaft between the T56 and the S4 Turbo II differential. Many people recommend an aluminum C4 Corvette driveshaft since it’s the perfect length and the rear section is the only piece that needs to be modified. I bought a C4 driveshaft that had already been modified to have a longer slip yoke (not needed but some recommend it) and the rear flange for the Turbo II differential.

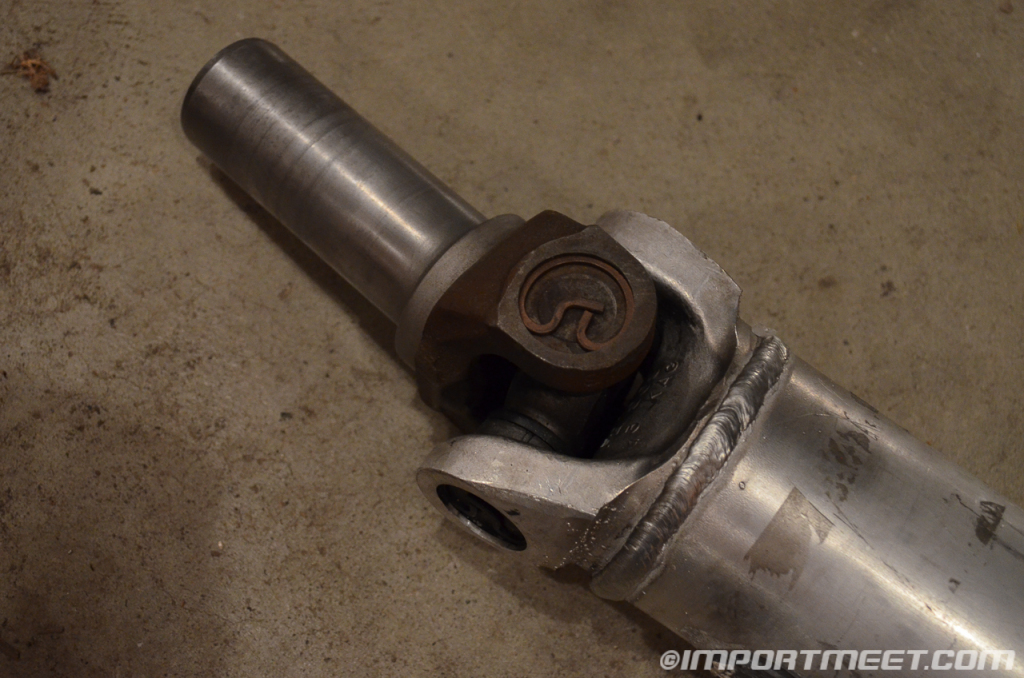 The driveshaft was installed onto the transmission and then attached to the differential. Everything lined up perfectly and it was exciting to see the entire drivetrain assembled. In the next update I will go over the cooling system and clutch master cylinder installation.
[Sources: Wikipedia]
Previous posts about Project V8 RX-7:
Update 13 – First Start
Update 12 – Stage 1 Fuel System
Update 11 – Rear Subframe Modification and Bushing Install
Update 10 – S4 Turbo II Parts Car
Update 9 – L33 Modifications and Preliminary Install
Update 8 – Ronin Speedworks LSX Mount Kit
Update 7 – Improved Racing Oil Pan Baffle Install
Update 6 – Parts Engine Teardown
Update 5 – 5.3L Engine Purchase
Update 4 – The New Shop
Update 3 – Drivetrain Choices
Update 2 – Interior and Wiring
Update 1 – Engine Bay Preparation
Introduction to the Project

