LS Swap FC RX-7 Cooling System
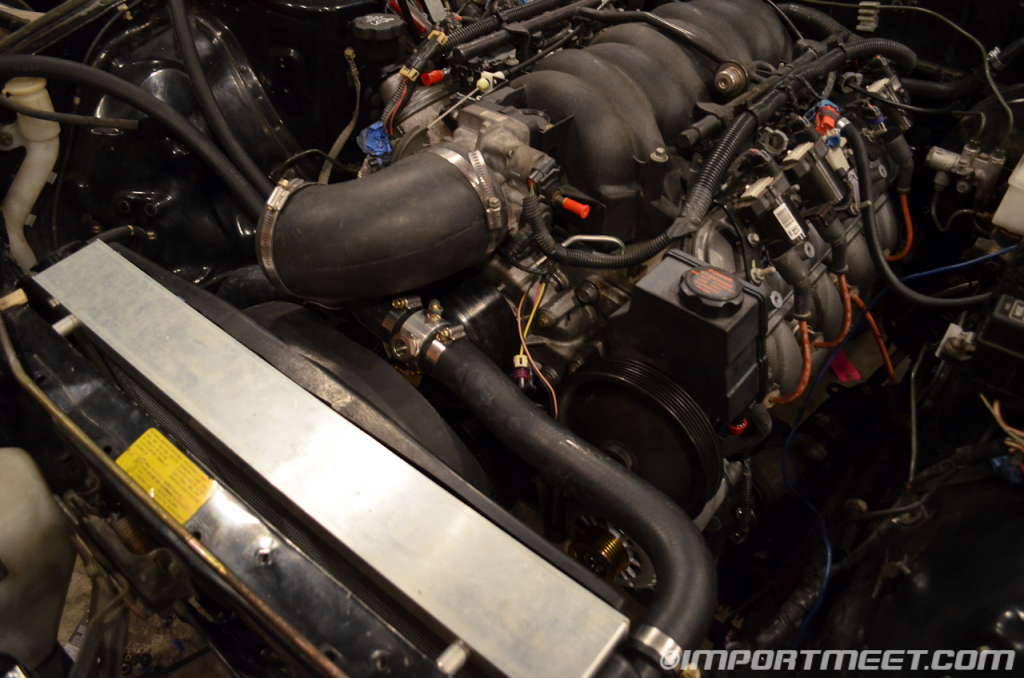
It’s no secret that LS engines have been swapped into RX-7’s for years. The benefit of being a fairly common swap is that there is quite a bit of information about how to construct an adequate cooling system. After doing some research, I discovered a company named Jags That Run sells a mount kit that utilizes a stock Corvette radiator. I found a good deal from a private seller of a brand new kit that had never been used. This was a great find since the kit sometimes takes some time to produce if bought new. I picked up an OE replacement radiator from Summit Racing and began the process of mounting it into the FC engine bay.
JTR provides excellent instructions with their kit that detail every aspect of the installation. The first step is cutting the old FC radiator support brackets. The stock sheet metal is bent in towards the center of the car and allow for the factory radiator to be mounted at an angle.
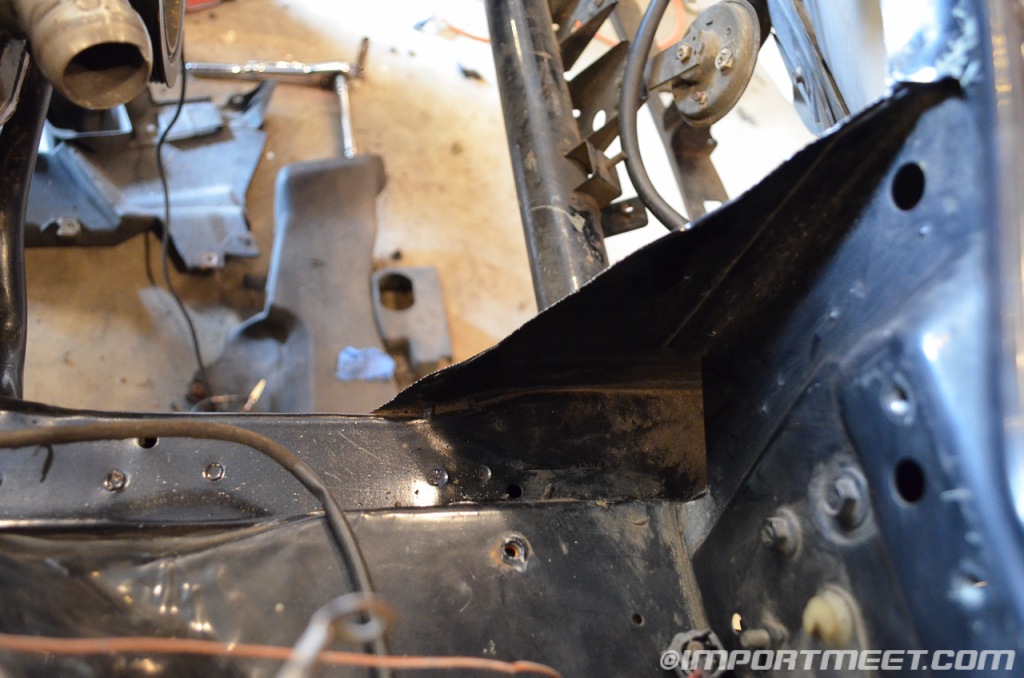 In addition to some cutting there is also some bashing of the frame rails required to fit the wider C4 Corvette radiator. I used a 30 lb sledgehammer to flatten some parts of the sheet metal and a small section of the front frame rails out about half an inch on both sides. Compared to some FWD swaps I’ve seen on other cars, the frame bashing for the radiator mounting was minimal.
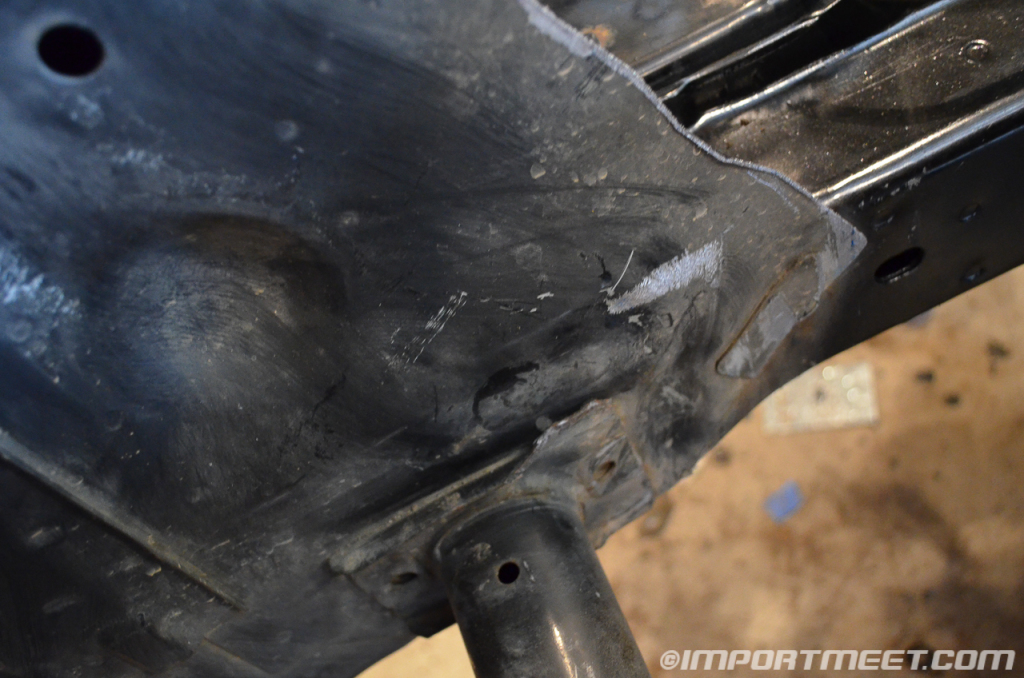 Once room was created, angled aluminum brackets were sandwiched between the chassis and the front tow hooks. The aluminum channel and radiator was then placed on the brackets and positioned.
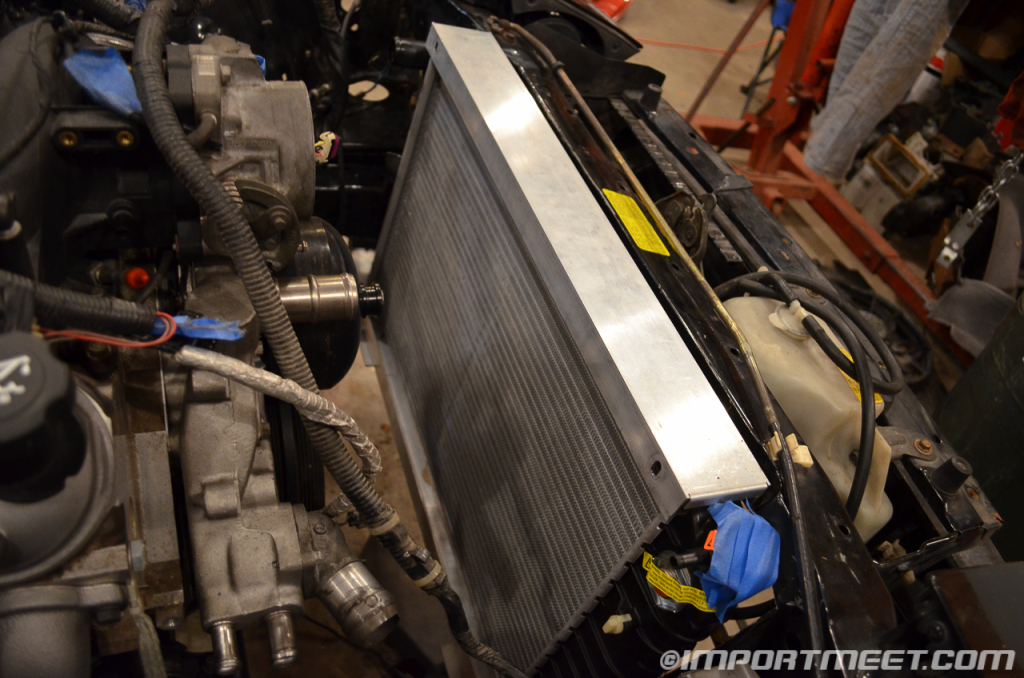 The JTR kit requires drilling of the aluminum channel to attach it to the brackets.
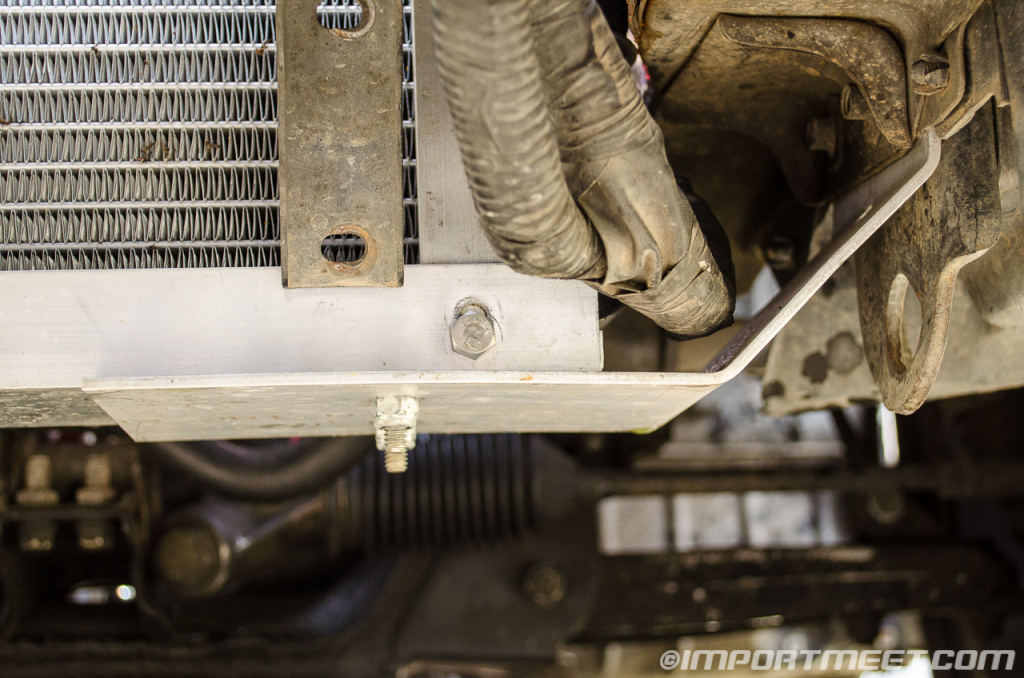 Another nice aspect is that the JTR kit comes with rubber isolators for the radiator so that it won’t crack from vibration. These are pushed into holes on the channel and allow the radiator to remain isolated.
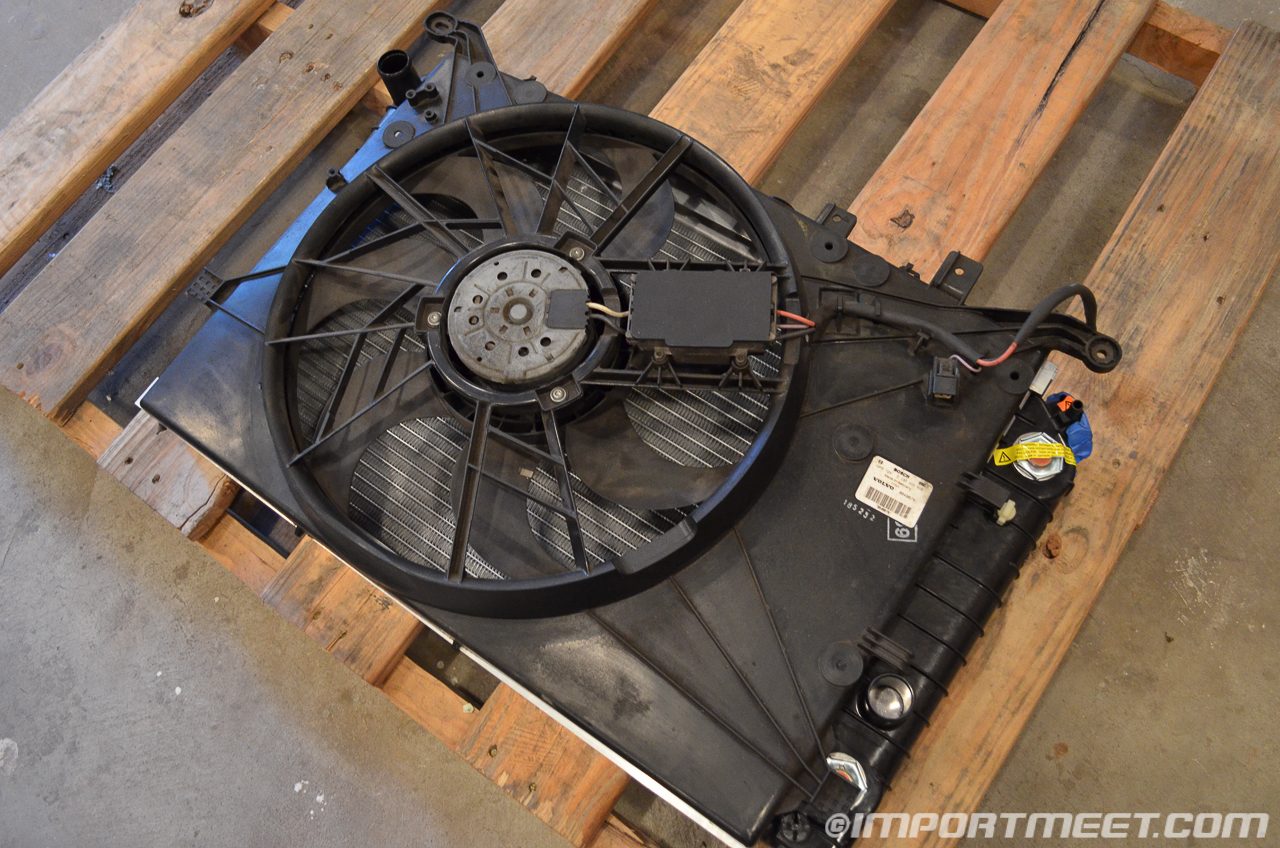
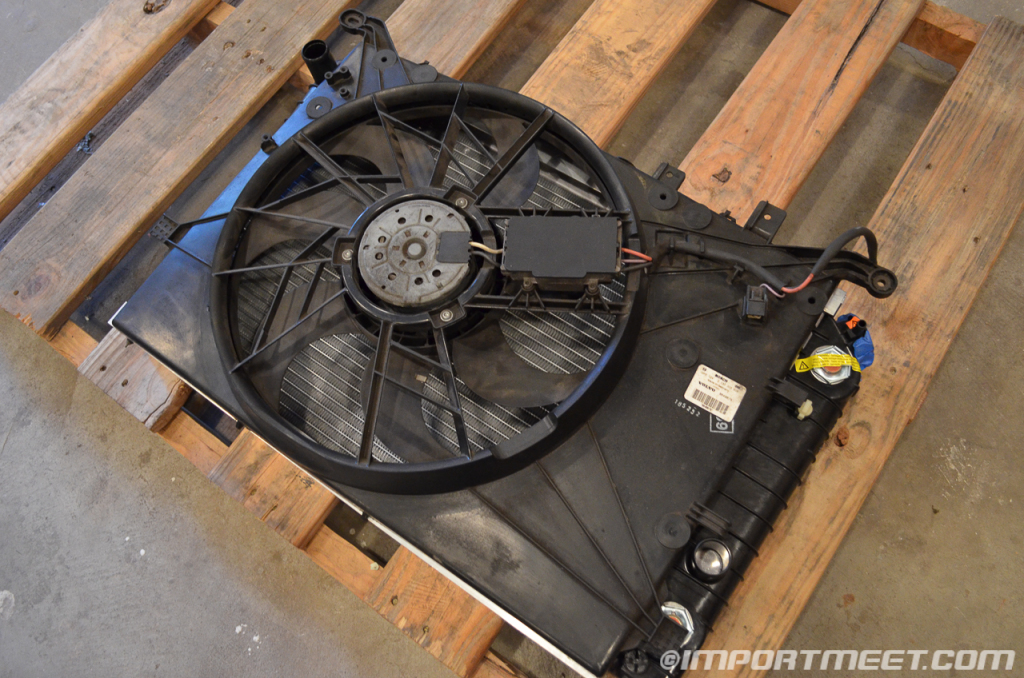
The JTR kit recommends using a Volvo S40 fan with a molded shroud. These fans are fairly common to find used at Volvo service shops since the stock fan control box fails prematurely. Since I was going to design my own fan control box with resistors, I didn’t need the failed one on the Volvo fan.
Volvo Fan Control Box
On cars that have LS1 engines stock, there are two fan speeds – low and high speed. With the use of two relays and a resistor, the LS1 PCM can be wired to control both speeds. JTR sells automotive grade relays that can handle the inrush current of the Volvo fan so I ended up buying 2 relays from them. In their instructions they recommend using a .25 ohm ballast resistor but I had a hard time finding one that was rated for the power of the fan. I burned up a cheaper .25 ohm resistor before consulting with some electrical engineers I work with who helped me find a better solution.
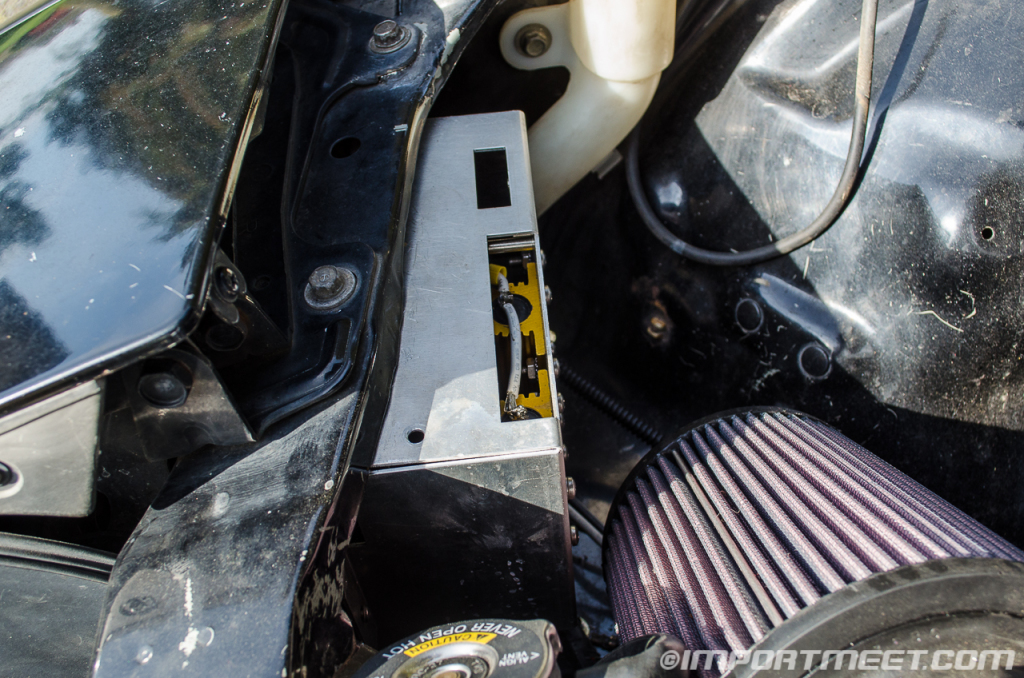 For the low speed operation, they told me to use two .47 ohm resistors wired in parallel and that I could buy them from Digikey (part number for reference A102369-ND) and that for the high speed operation of the cooling fan, the second relay should be used to bypass the resistors.
After digging through some old pieces of sheet metal I found in the scrap bin at work, I found an aluminum box that I could use to house my resistors and relays. For safety, a 50A fuse was wired into the fan system in an unused position on the stock RX-7 fuse block.
Fan Mounting
Since I was making my own control box, I removed the faulty one from the Volvo fan. I then cut about an inch off the perimeter of the surround to get it to fit flat between the front accessories and the radiator. 4 holes were drilled in the shroud and 4 ¼-20 tapped holes were made in the vertical JTR brackets. Using 1/4-20 threaded rod and threadlocker I was able to permanently attach them to holes I tapped in the brackets. After the radiator was installed in the car, the Volvo fan was placed over the threaded rod and attached using nyloc nuts.
 Radiator Hoses
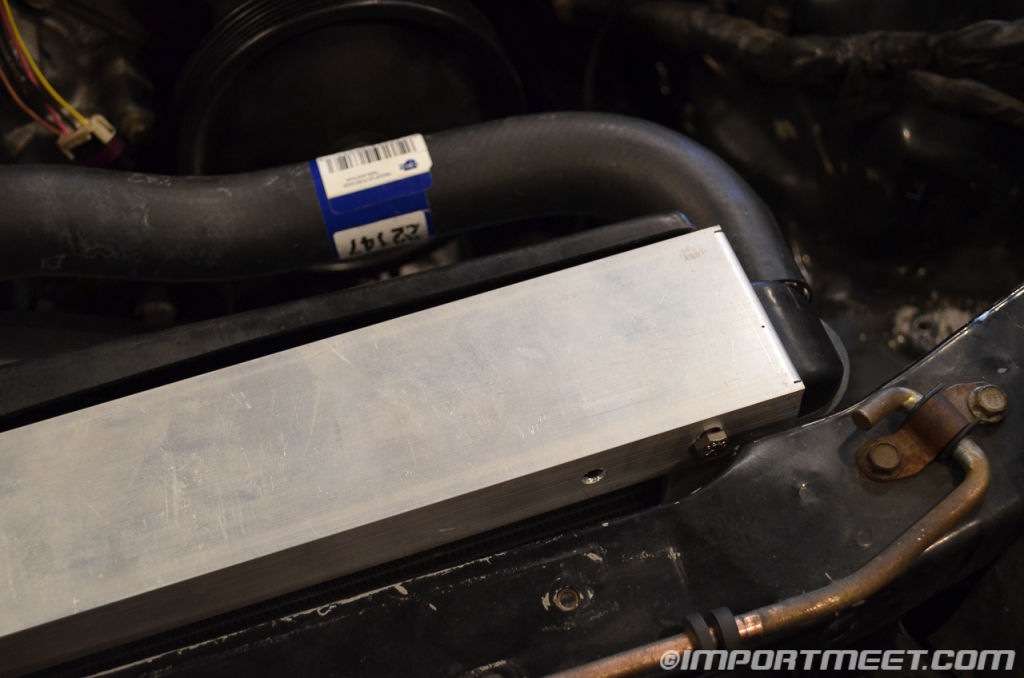
With the JTR radiator setup I was able to use some common off the shelf molded hoses for the upper and lower radiator hoses. A molded hose that worked perfectly for the upper radiator hose is Gates part number 22147. I had a hard time finding an exact match for the lower radiator hose but I ended up finding something hanging in the backroom of a local part shop.
 Sight Glass/Bleeder
JTR sells a sight glass/coolant bleeder that is typically installed in the highest point of the cooling system. This is an easy method of bleeding the system of air which can be difficult on swapped cars. I spliced the bleeder into the upper radiator hose and tied it into a brand new LS3 front coolant crossover tube (the L33 crossover tube wouldn’t work).
 Heater Hoses
Living in Washington, a functioning heater/defroster is essential. I was planning on using copper tubing but I was having a hard time finding it in the proper diameter. Instead, I bought two brass 90° elbows and drilled two 3/4” holes in the firewall.
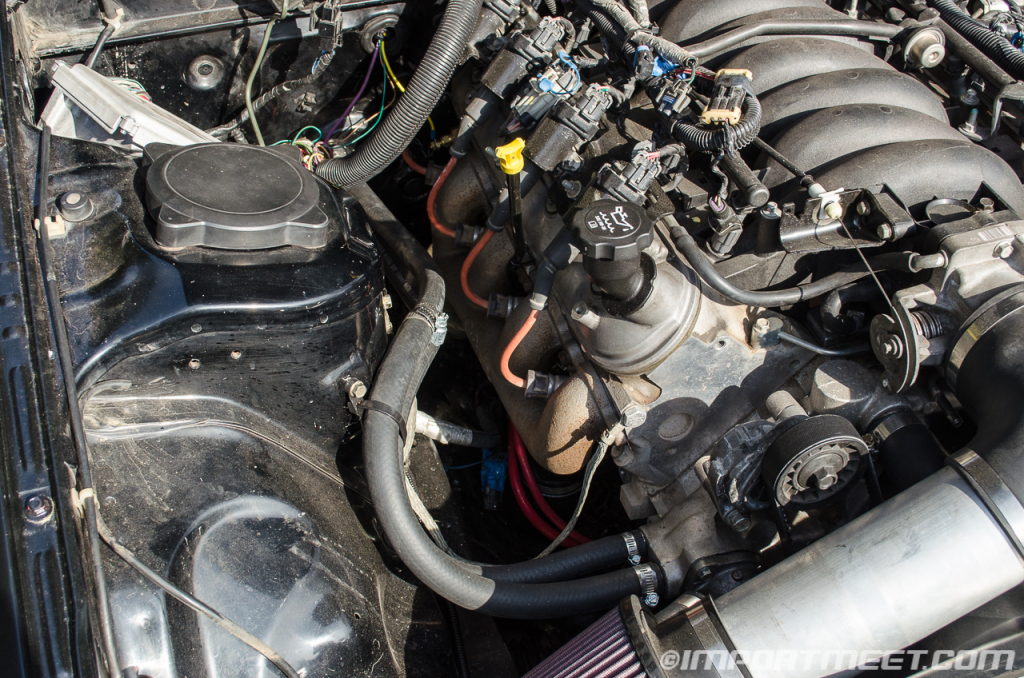
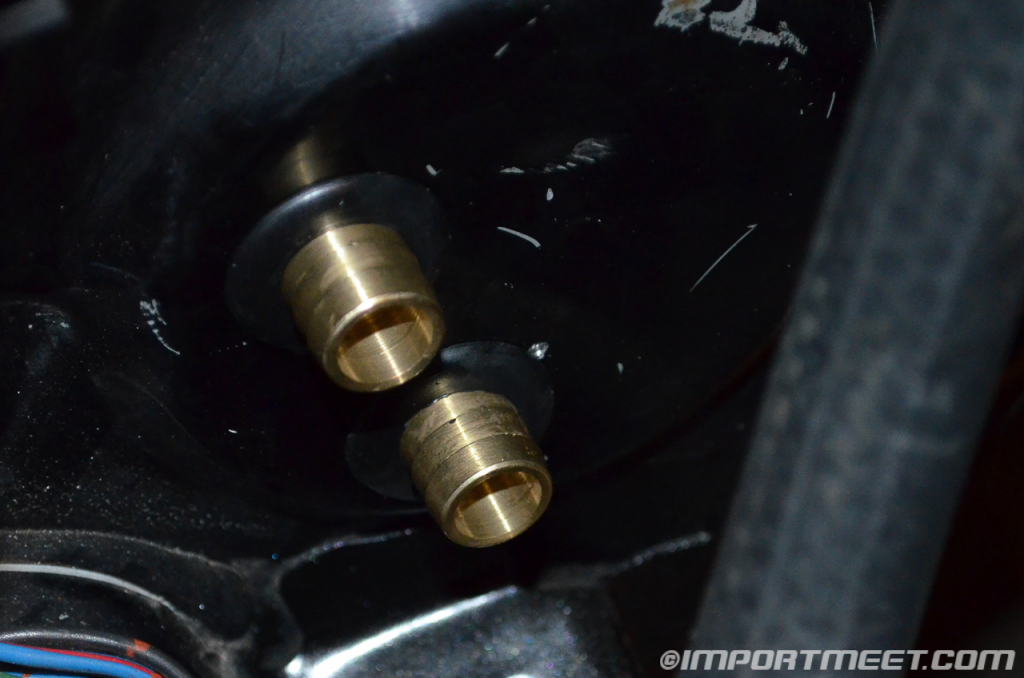 I connected the stock FC RX-7 heater core to the elbows and then attached to the water pump of the LS1. I might change this up in the future but for now it works well and I have yet to have any issues. I used a grommet kit that I picked up from Summit Racing to plug unused holes in the firewall and isolate the brass fittings from the firewall.
 Power Steering
I decided that if I ever wanted to get involved in drifting, I would need power steering to have any chance of being successful as a novice. I sourced an LS1 F-body power steering pump and pulley. A user by the name Pez on Norotors.com produces a high pressure power steering line that adapts perfectly to the stock FC steering rack.
For my front accessory belt, I went with a Goodyear Gatorback. The one I bought initially made a ton of noise and after installing the Gatorback it made a huge difference.
Once everything was installed and every hose clamp was tightened, Matt from Secondbolt Racing and I filled the system with distilled water to flush out any old coolant that was in the system. Having water in the system allowed us to start the engine and let it idle. Before starting the engine, we filled the rest of the drivetrain with fluid as well.
First Spin of the Drivetrain
Check out this video showing the first spin of the rear axles!
In the next update, I will go over the intake, exhaust, and battery mounting.
Previous posts about Project V8 RX-7:
Update 15 – Clutch Master Cylinder Install
Update 14 – T56 Transmission and C4 Driveshaft Install
Update 13 – First Start
Update 12 – Stage 1 Fuel System
Update 11 – Rear Subframe Modification and Bushing Install
Update 10 – S4 Turbo II Parts Car
Update 9 – L33 Modifications and Preliminary Install
Update 8 – Ronin Speedworks LSX Mount Kit
Update 7 – Improved Racing Oil Pan Baffle Install
Update 6 – Parts Engine Teardown
Update 5 – 5.3L Engine Purchase
Update 4 – The New Shop
Update 3 – Drivetrain Choices
Update 2 – Interior and Wiring
Update 1 – Engine Bay Preparation
Introduction to the Project

