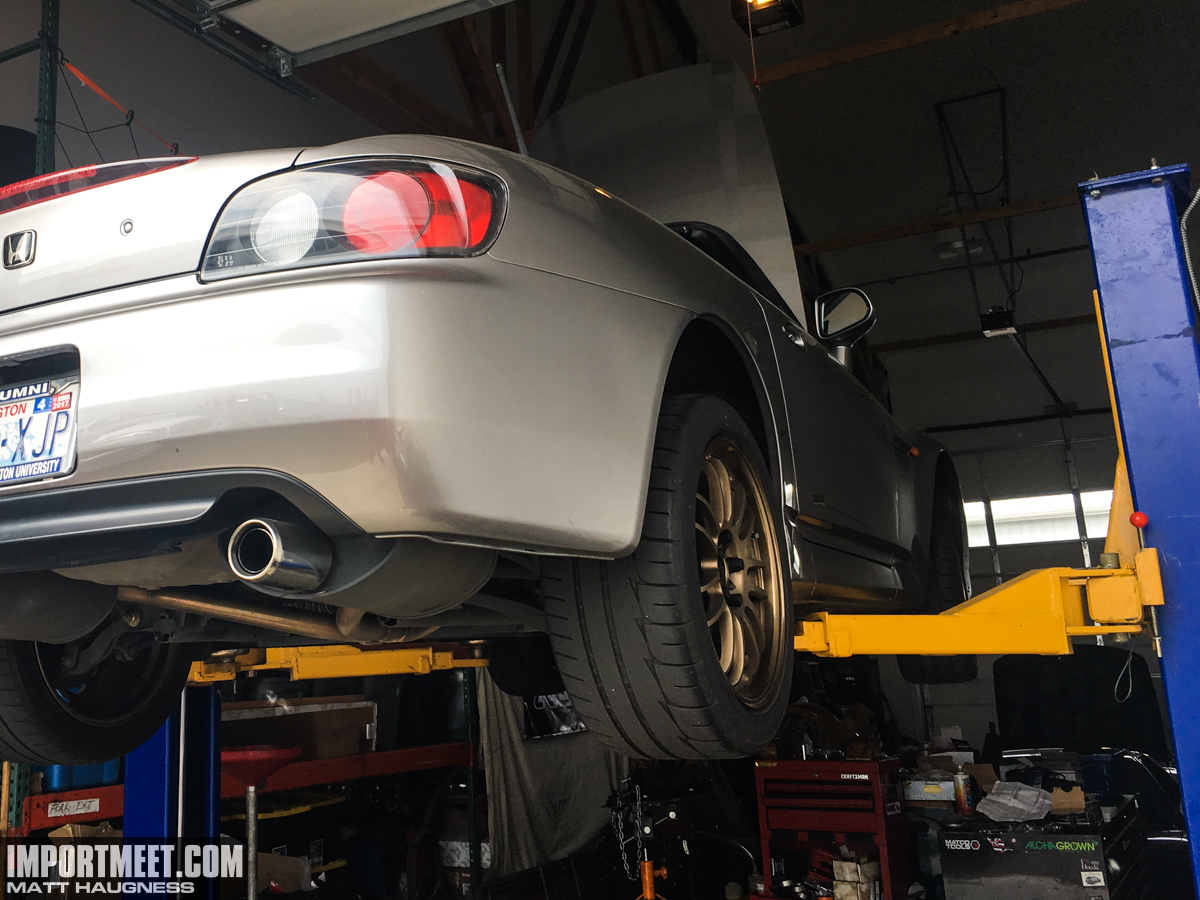
One of the most labor-intensive maintenance items for an S2000 is a clutch job. It’s a long process and depending on who is performing the work it can get expensive quickly. With around 74,000 miles the clutch on my Honda S2000 was starting to show signs of being near the end of life.
The engagement point was higher than stock as noted by my technician, Guillaume Marceau of Agile Concepts, during my last valve adjustment. Since it is 2001 model year it also had the notorious “Clutch Buzz” that all early AP1 owners will experience at some point or another. This annoying noise is caused by the springs on the clutch disc itself vibrating at a specific RPM harmonic range (on deceleration) from 3-4k RPM. There was a TSB from Honda on the issue but it didn’t cause any damage so many dealers didn’t fix it under warranty.
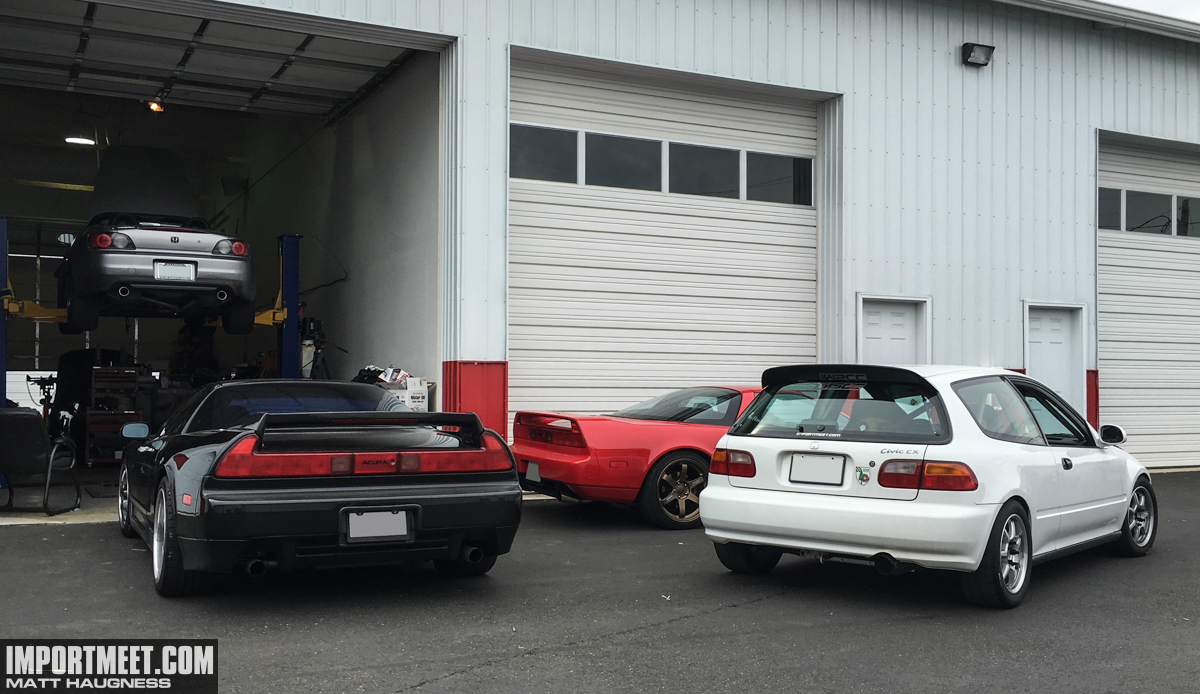 I scheduled an appointment with Guillaume to get the clutch job done. For the parts I went with Science of Speed which is a highly-regarded vendor on the S2000 and NSX forums based out of Chandler, Arizona. They design many of their performance parts in house. After hearing great things about their clutch kit I knew for years that this was where I would end up going when the time came.
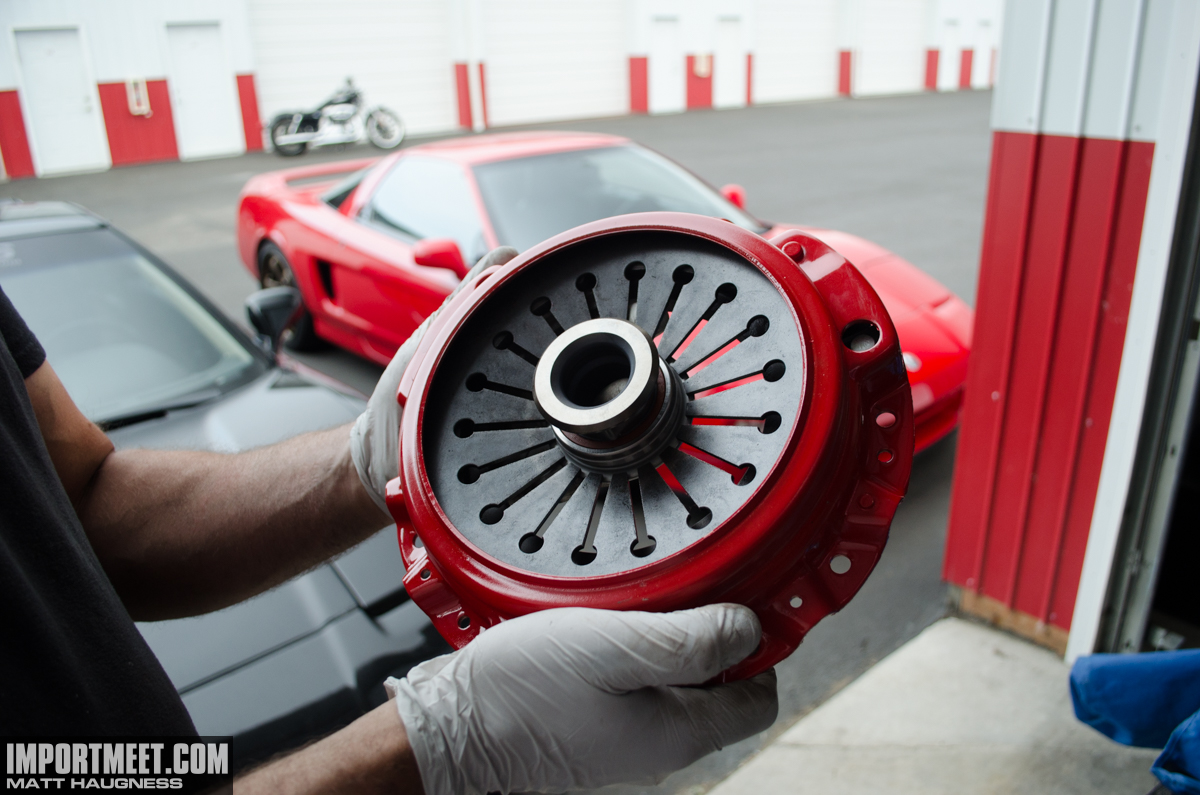
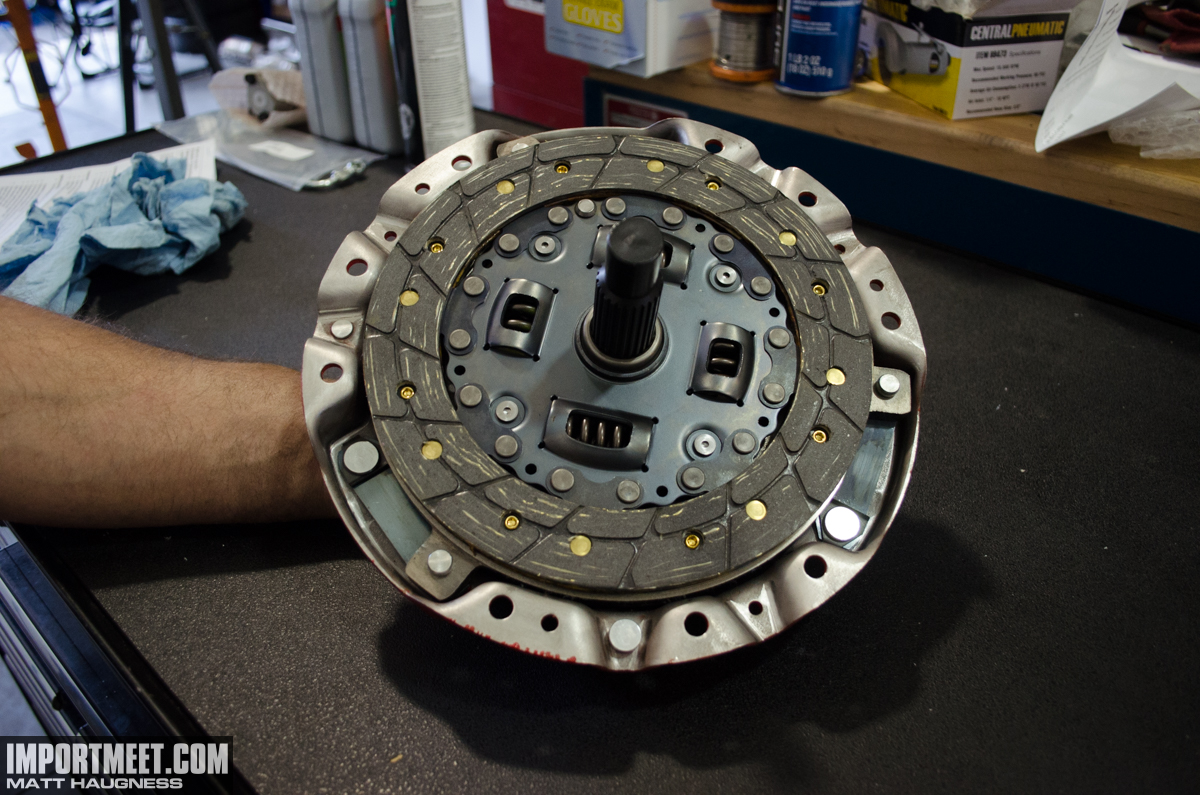
SOS makes a Sport Clutch kit which is an OEM style clutch disc with an upgraded pressure plate. The disc itself is made in the same factory as OEM Honda clutches so the quality is top notch. I have no immediate plans for any significant power adders but the clutch is rated for 325 lb-ft, which is about what a mild supercharged or turbocharged setup would produce.
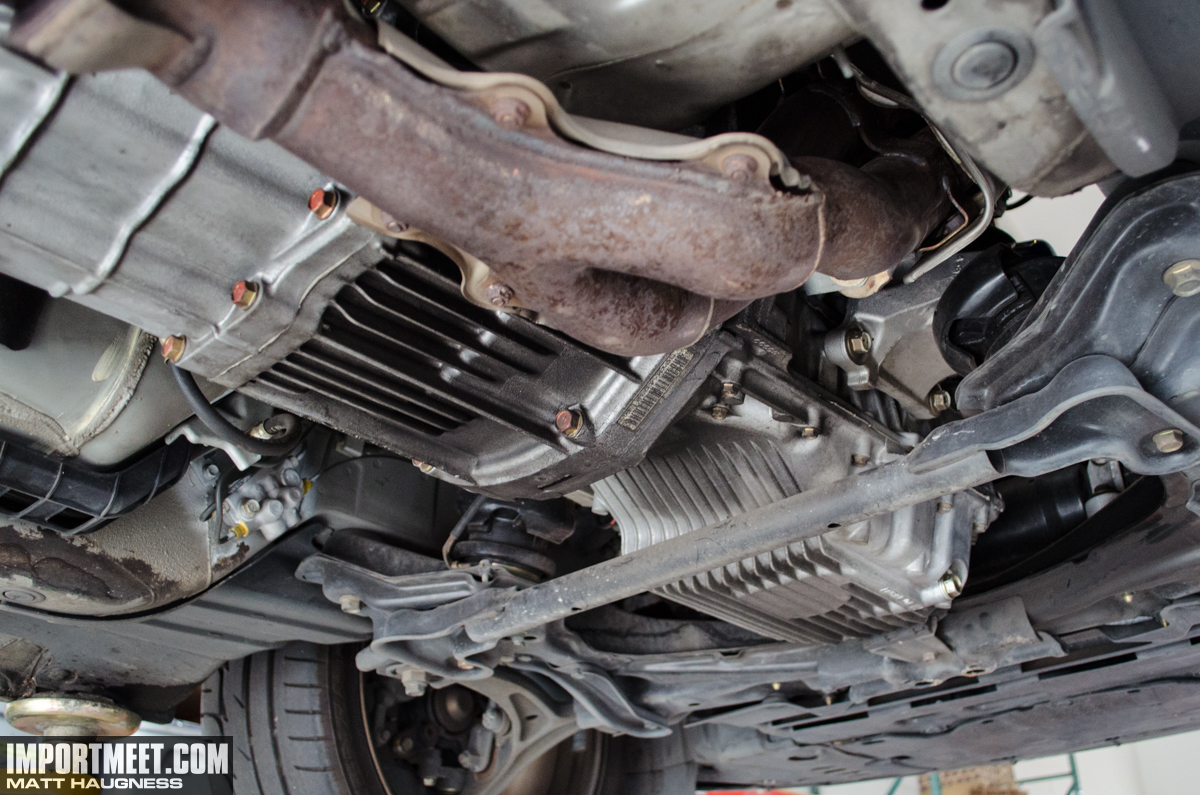
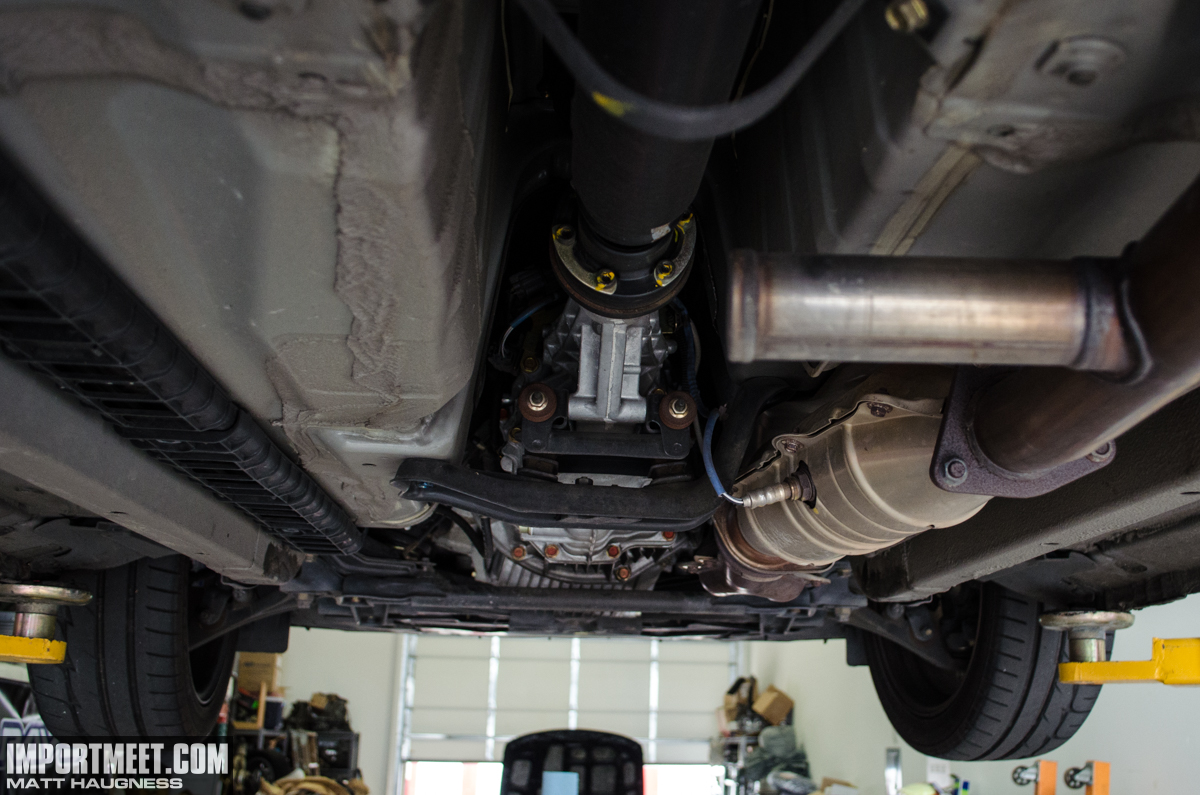
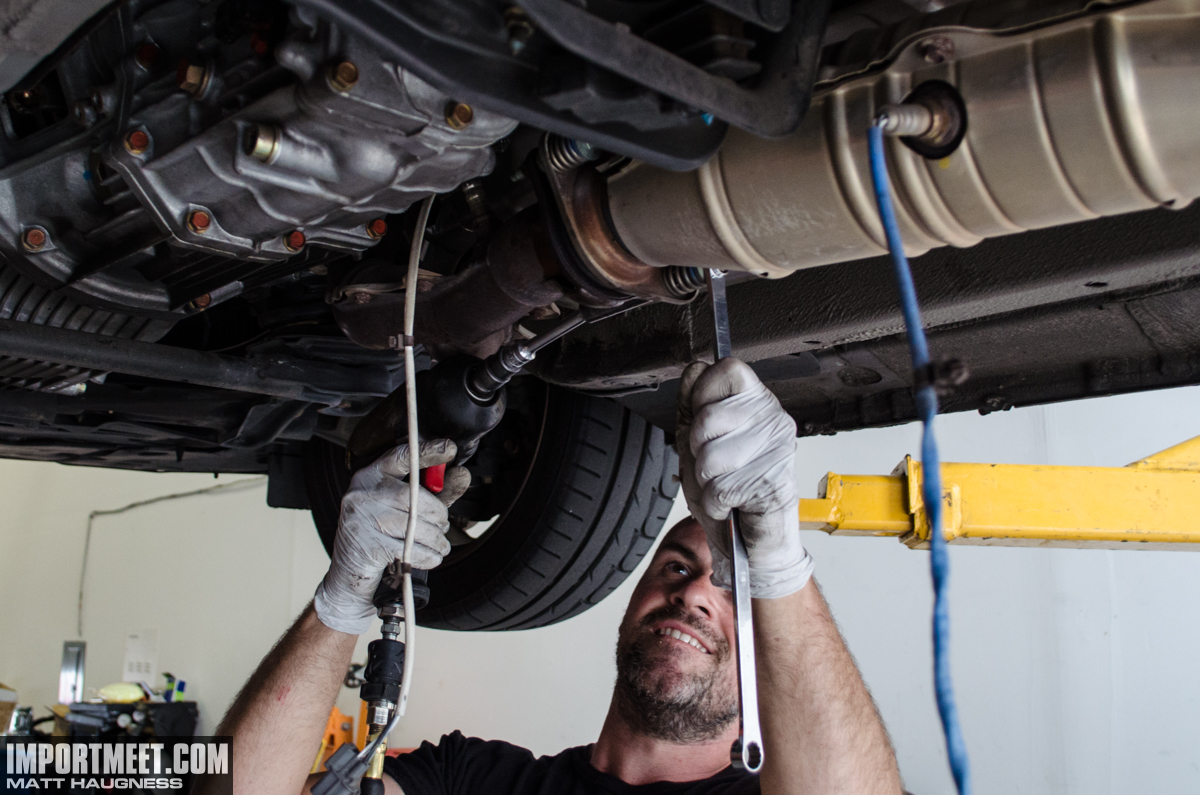
Part of what makes this job so time consuming is that it requires the removal of multiple components. The exhaust, exhaust manifold, driveshaft, and the center console need to be removed to drop the transmission and access the clutch.
The cat and exhaust were removed easily. I had a catback exhaust installed previously so the bolts had already been removed prior and anti-seize was used during reassembly. No broken exhaust bolts – score!
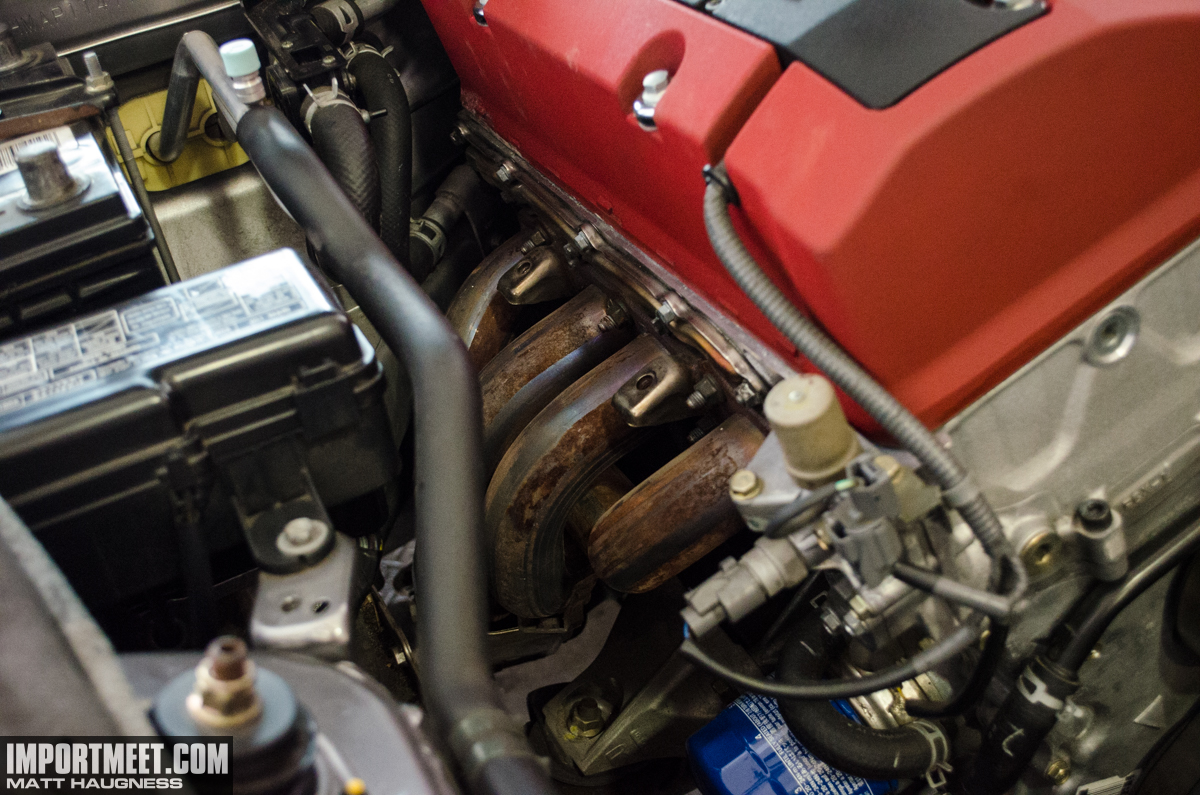 The exhaust manifold is tricky since it’s best to remove it from the top. The factory heat shields (upper and lower) were taken off to allow it to be taken off from the top. The manifold gasket looked good so it could be reused.
The interior parts were easy as only the center console needed to be removed to access the shift lever assembly.
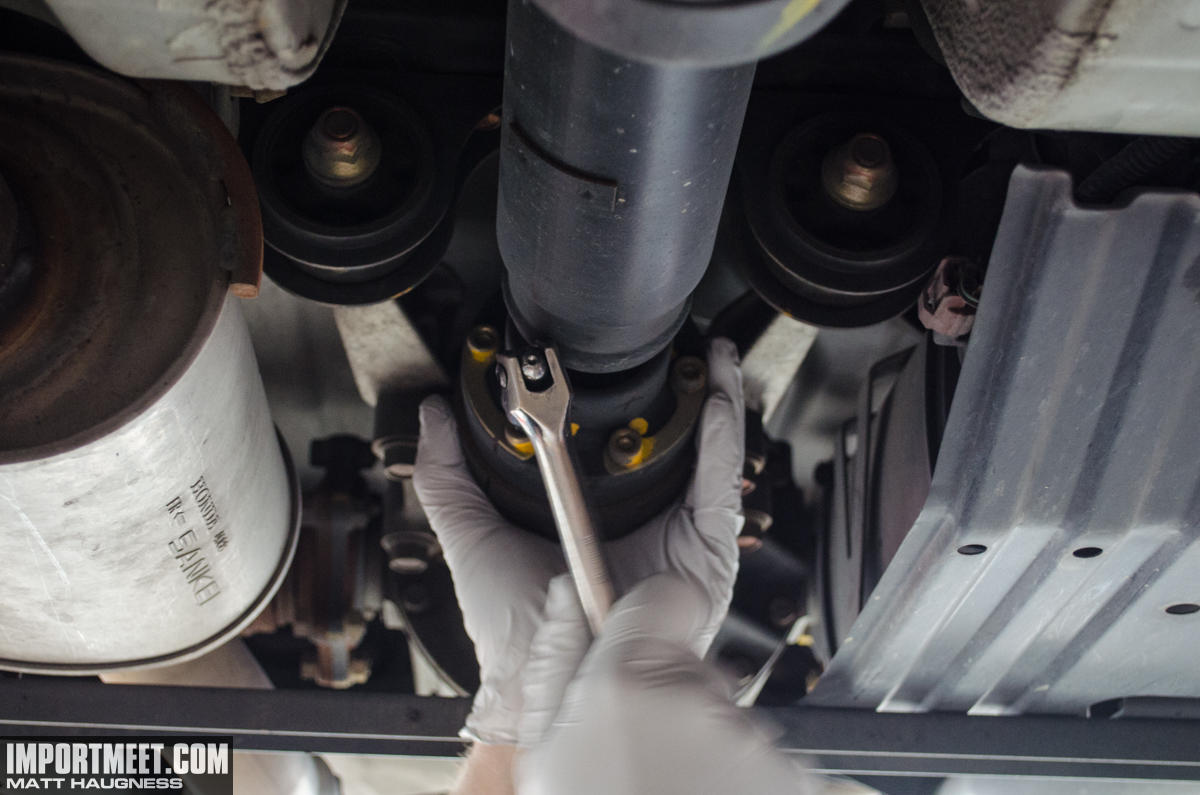
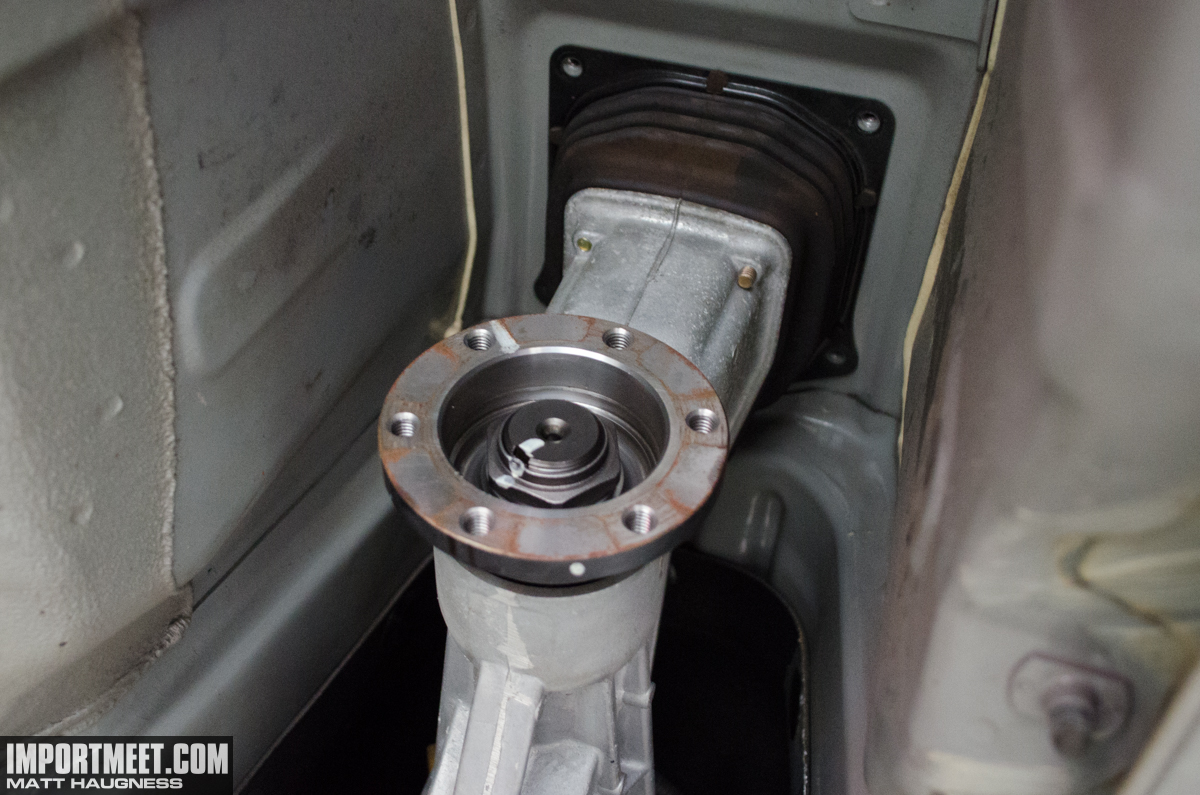
Next up was the driveshaft. Since the S2000 uses a CV driveshaft, it’s important to make sure that it’s reinstalled in the factory balanced orientation to minimize vibrations. Guillaume marked both mating parts to make sure it was installed in the same position. Once the cap screws were removed from the driveshaft it dropped out of position to give access to remove the transmission.
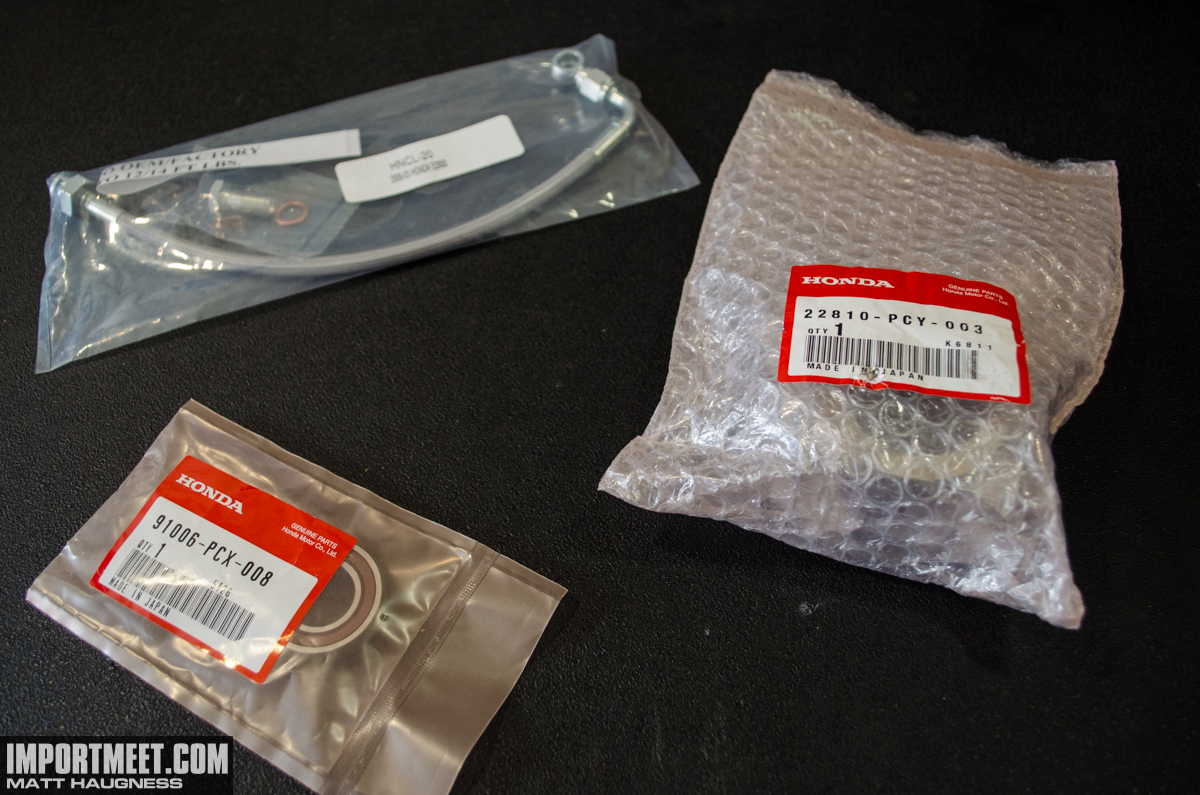
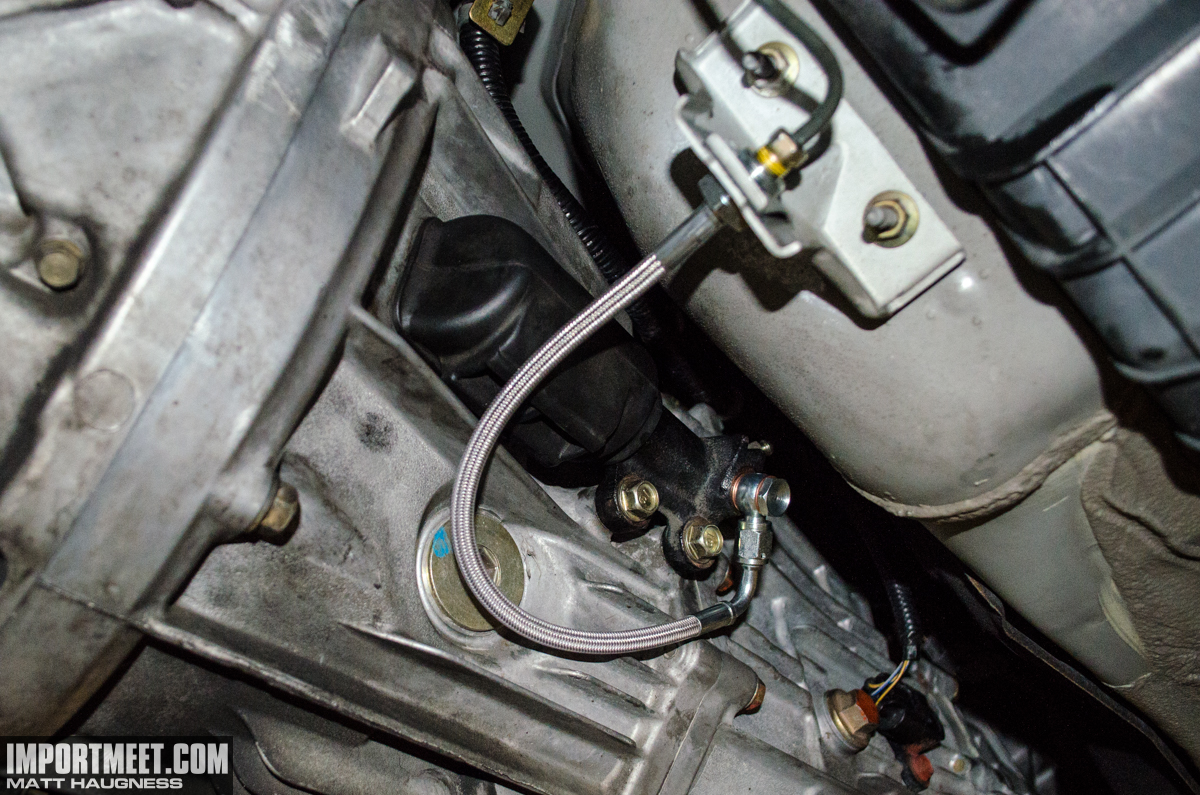
Since I was replacing the clutch it made sense to do the pilot bearing and throw-out bearing. It’s recommended to spend the extra cash and go with OEM as you’re guaranteed to have the best quality bearings. I also decided to replace the factory rubber clutch line with a stainless steel braided version. The idea here was to increase feel and responsiveness. The clutch line kit was also purchased from Science of Speed. All parts are pictured below.
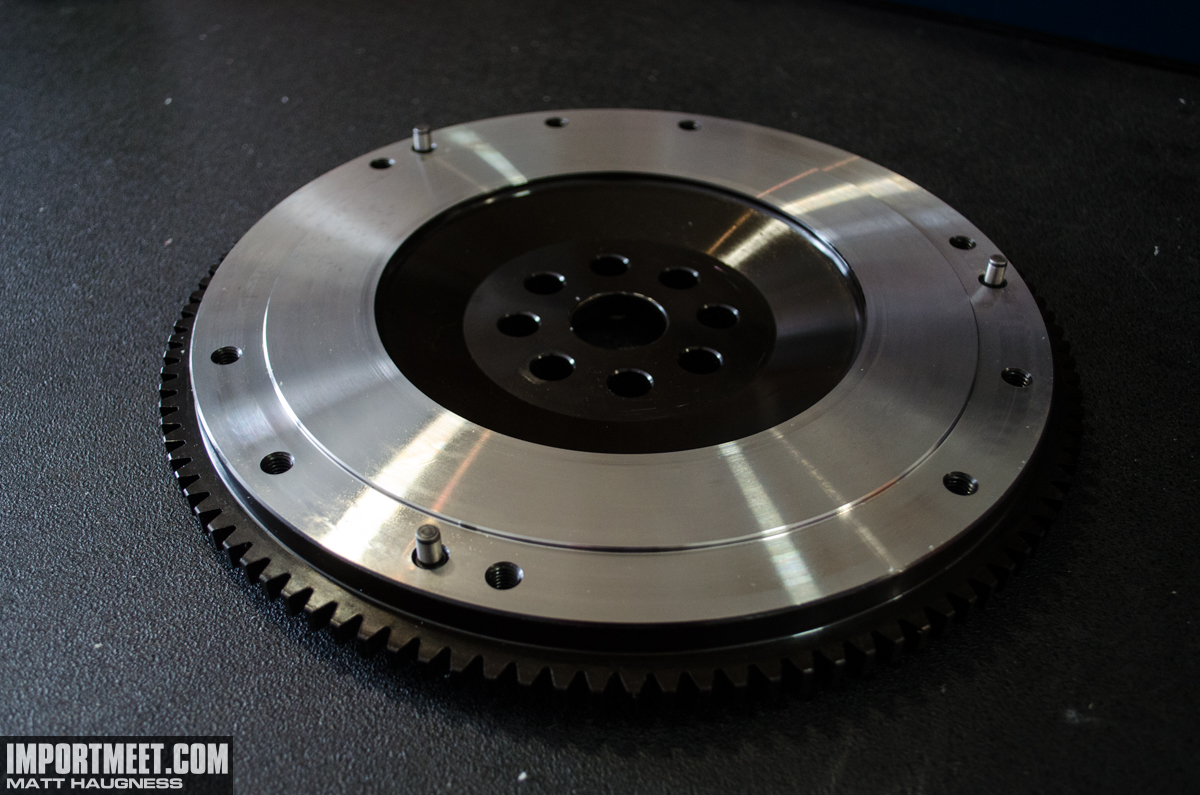
Although my factory flywheel was perfectly fine and could be resurfaced/reused I decided to go with an upgrade while we were in there. Knowing that too light of a flywheel would be detrimental to drivability, I opted for the Science of Speed street flywheel which is about 3 pounds lighter than stock and has a better MOI (Moment of Inertia). I think their “race” flywheel is 3 pounds lighter than the “street” version, which would without a doubt make the car difficult to drive in traffic so I didn’t want to chance it.
After receiving the flywheel I realized that this was just a Competition Clutch flywheel that SOS sold as their own. It was slightly disappointing as I could have bought the same flywheel for cheaper elsewhere. I wish they would have been honest about the part on their website, or at the very least used their own packaging so I wouldn’t have known. Regardless, it was a nice part and I was impressed in the overall quality.
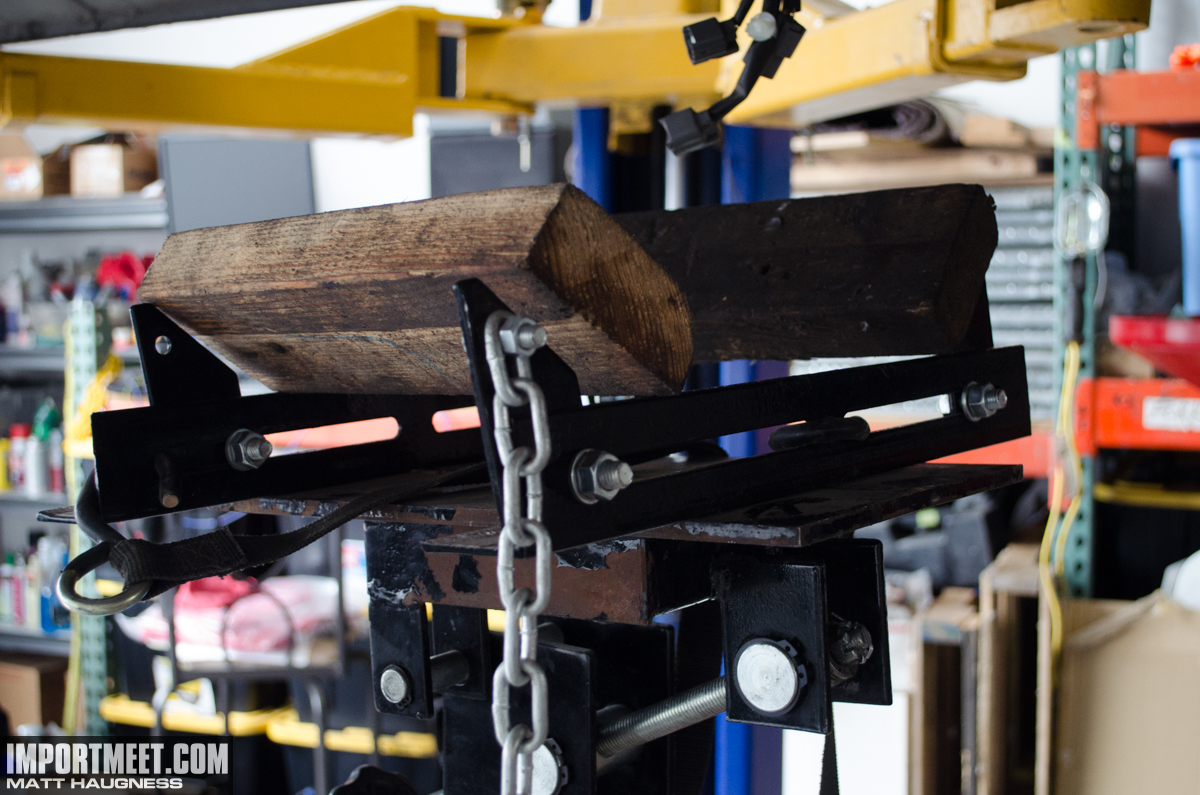
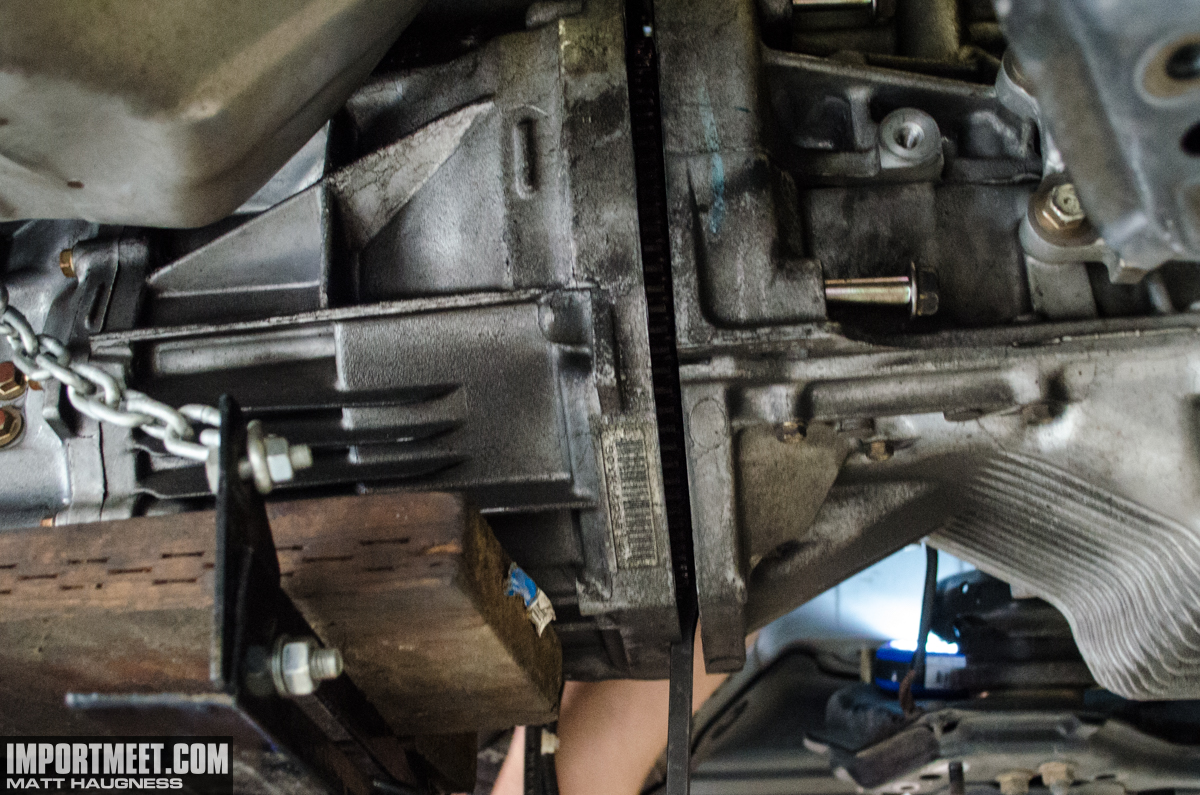
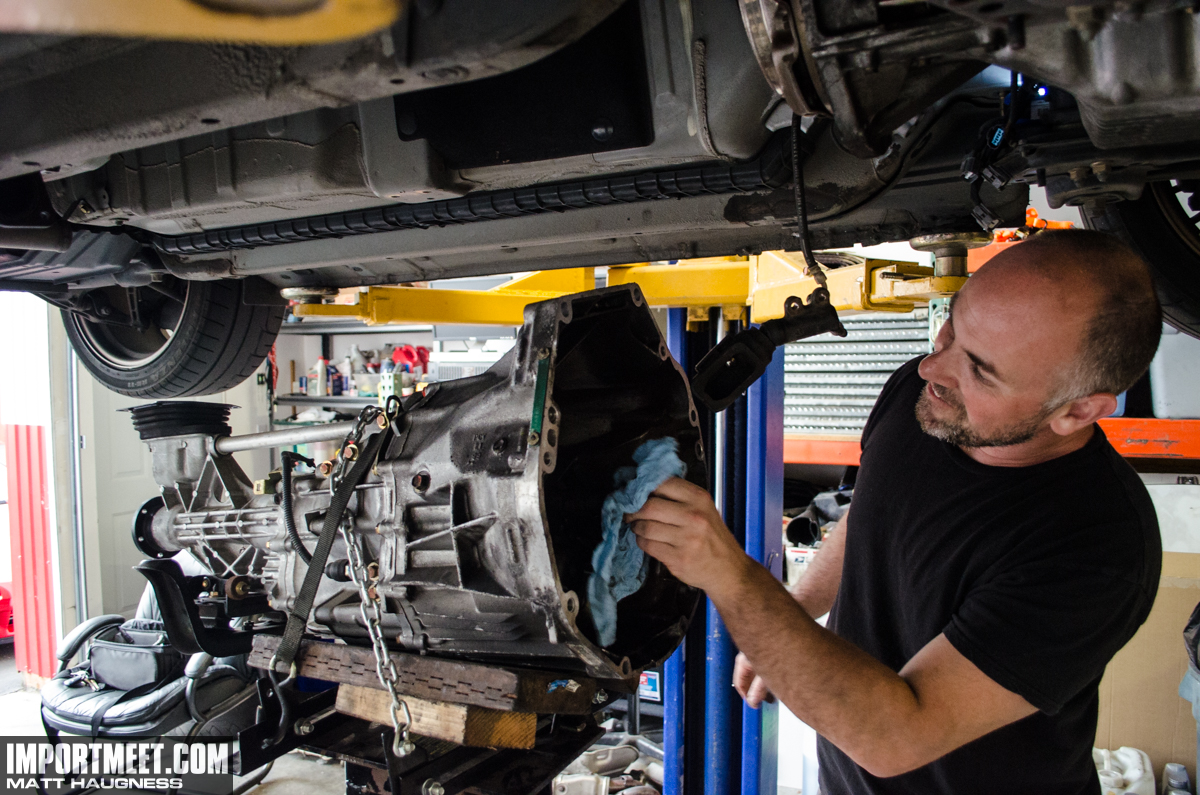
The next step required using a transmission jack to cradle the transmission as it was removed. We did loosen the bolts on the subframe as needed to angle the entire assembly down to minimize the risk of scratching the tunnel. After this was done the transmission could be separated from the engine and lowered from the car.
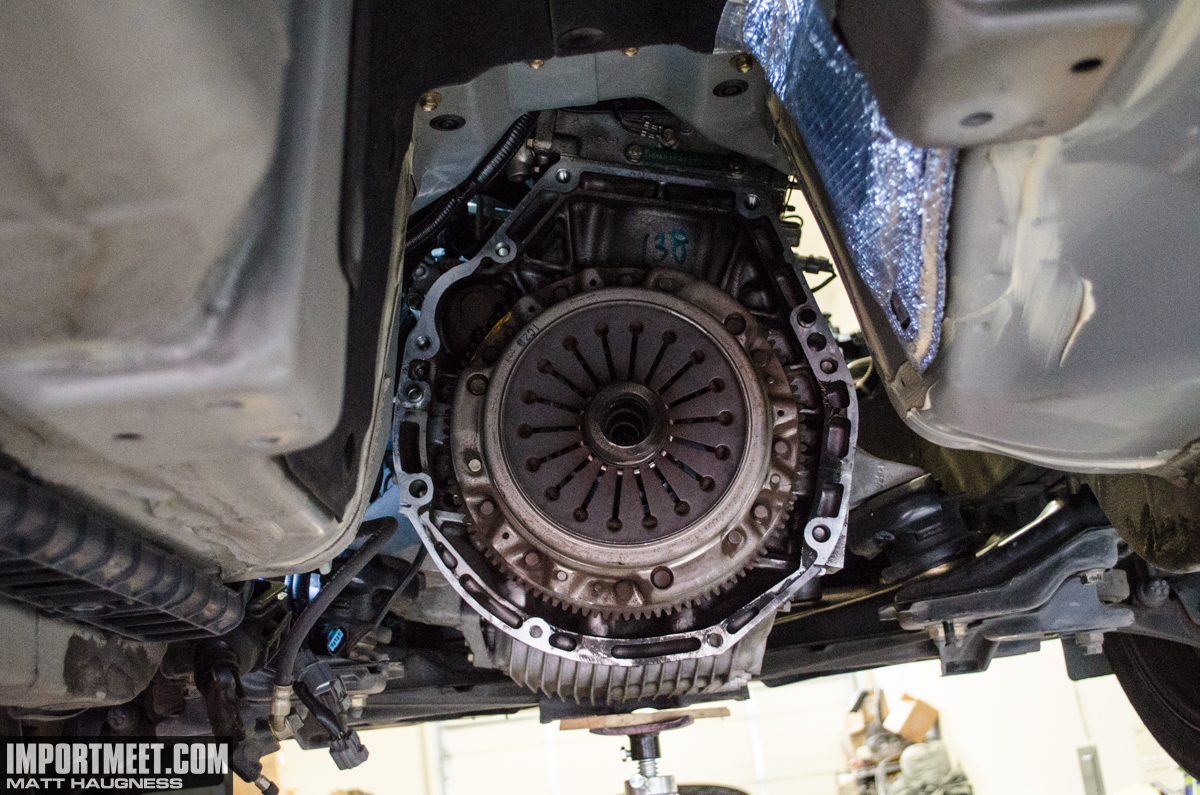
Inside everything looked normal. No leaking from the rear main seal (it would have been a surprise if so) and the bell housing was only dirty from friction material dust.
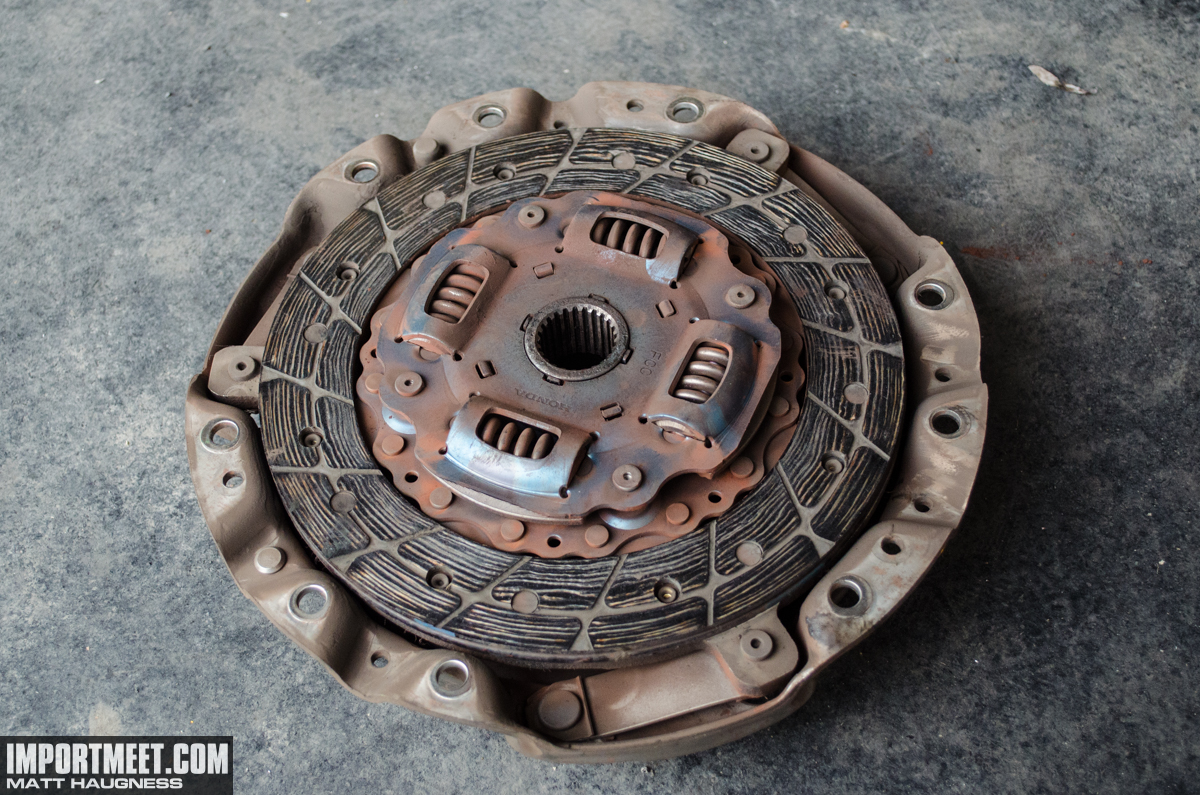 Once the stock clutch was taken off I was amazed at how much friction material was left. I could have gotten probably 10-20k more miles from the assembly but I considered this preventative maintenance and eliminating the clutch buzz was well worth it alone.
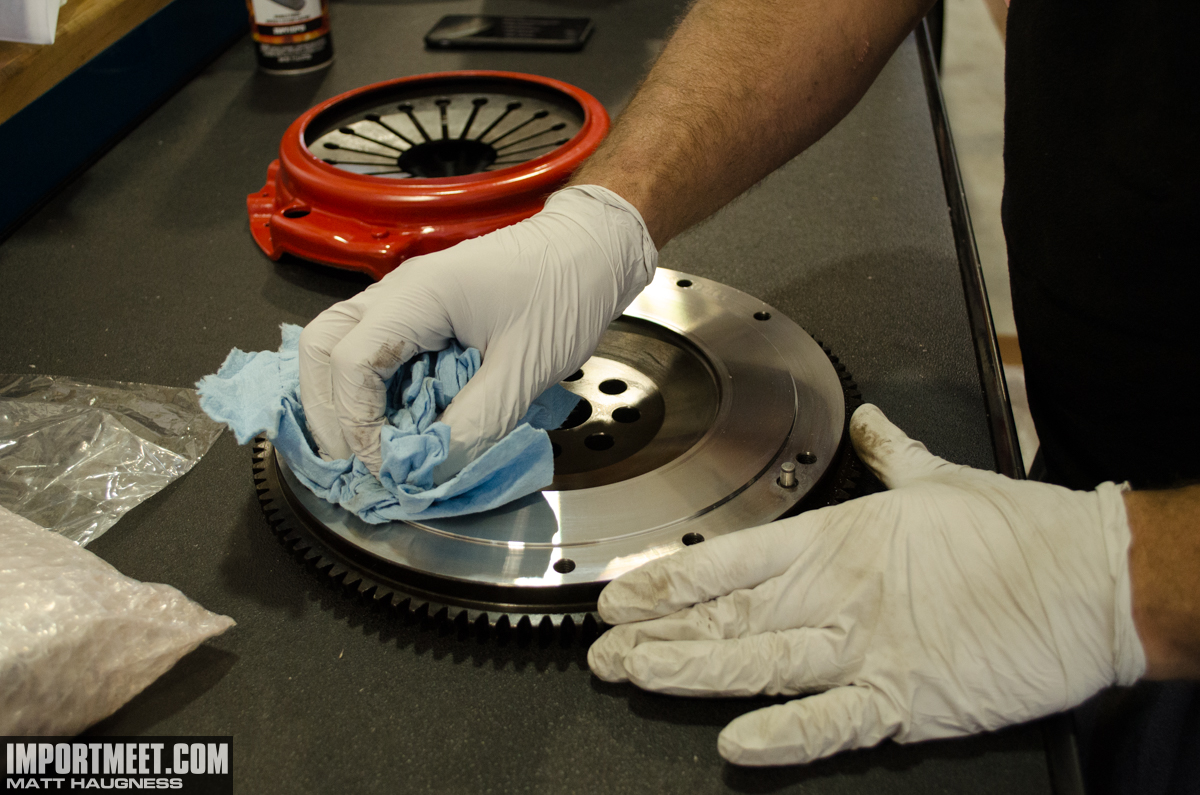
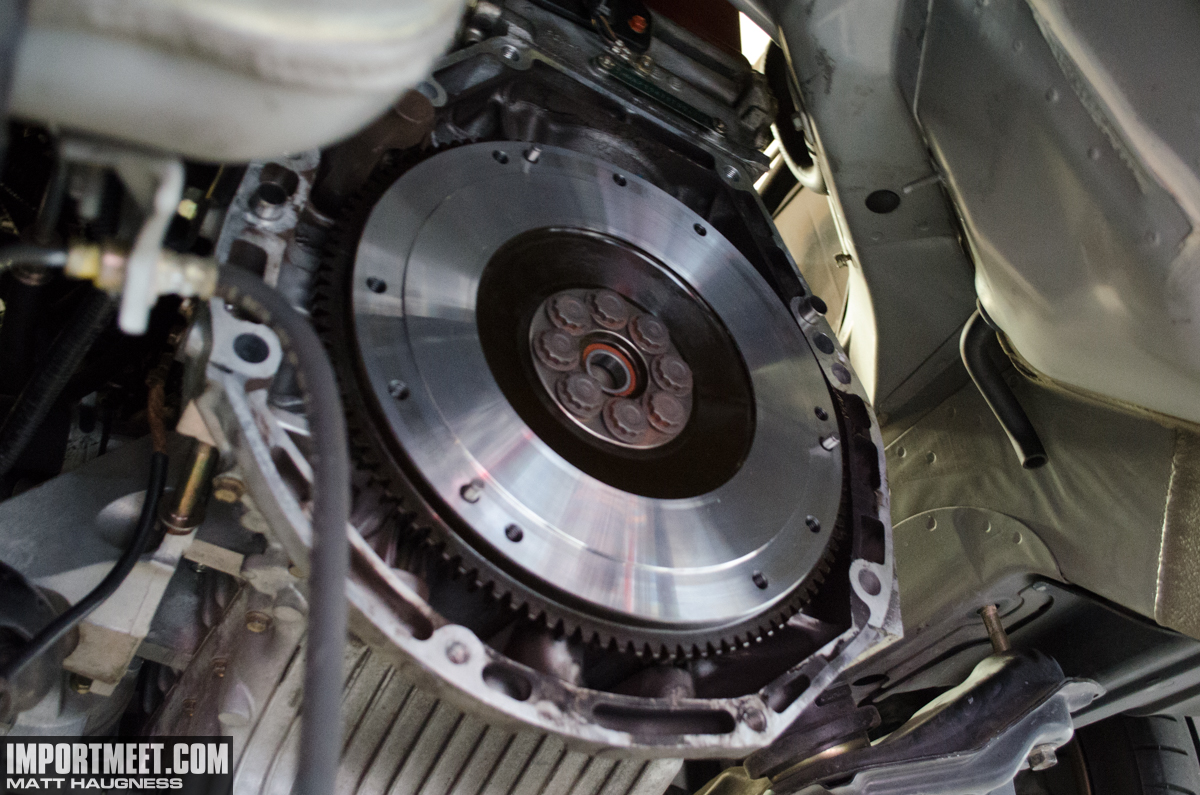
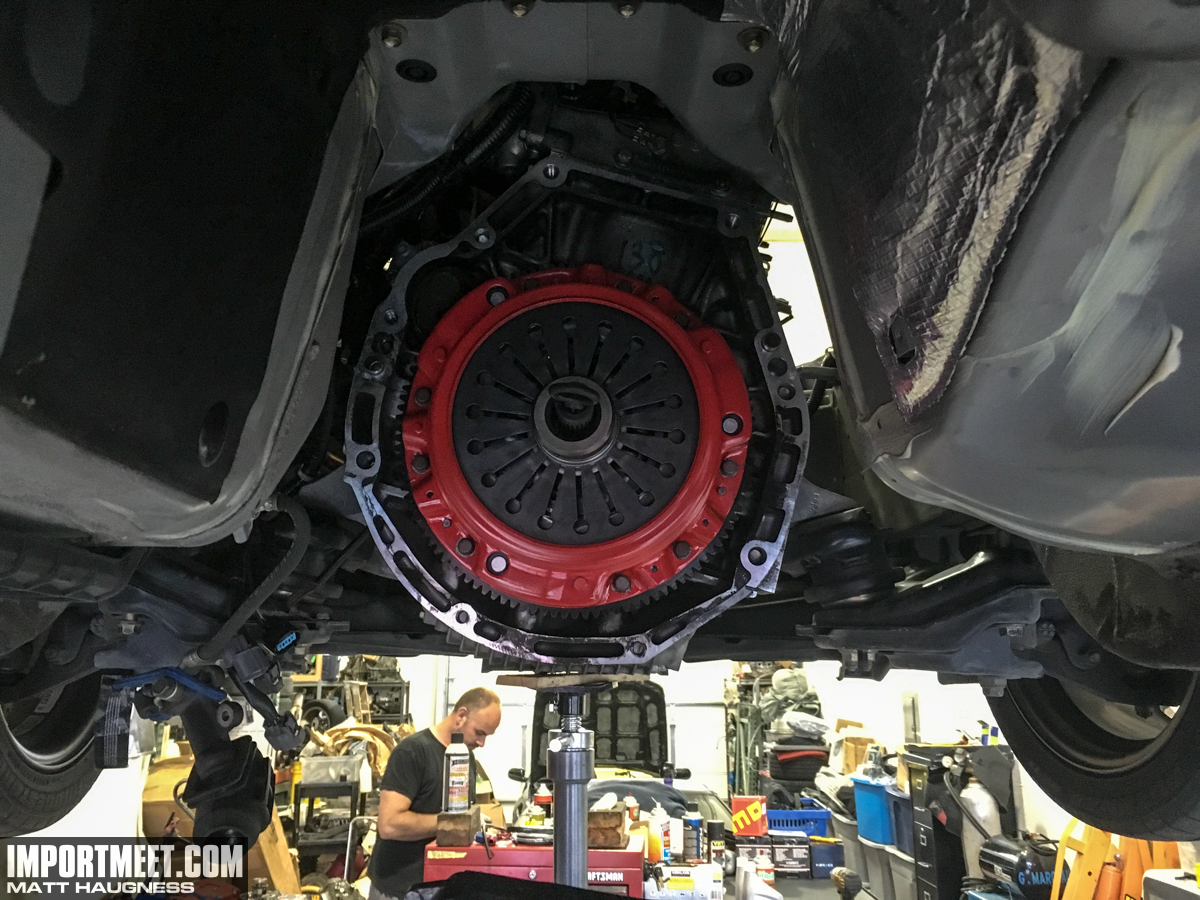
The next step was to clean the flywheel, install the new pilot bearing, and attach it to the engine. Then using the provided clutch alignment tool the clutch disc, throw-out bearing, and pressure plate were installed to the flywheel. Of course, Guillaume applied the appropriate lubrication to all required areas as specified by Honda. Fitment was spot on without any issues.
 The final part of the entire job was installing the braided stainless steel clutch line and bleeding the system. Some adjustment of the clutch master cylinder rod was required due to the pressure plate changing from stock, but it was fairly minor.
 Initial impressions were great! The effects of the lighter flywheel were definitely noticeable, with RPM’s rising and falling faster. Also, despite the clutch being able to handle significantly more torque, the pedal effort was about the same as stock. The only downside to the entire project was that the vibrations transmitted and felt through clutch pedal were increased because of the lighter flywheel and stainless steel clutch line. After a couple months of driving I have gotten used to it and it’s no longer a bother.
Up next, I’ll be sharing a modification that I’ve waited a very long time to pull the trigger on. Let’s just say it’s made by Mugen and I can’t wait to share!

